Are you tired of hauling lumber or other large items in the back of your truck, only to have them slide around and potentially get damaged? A truck bed rack DIY project may be just what you need to keep your cargo secure and organized. With a homemade truck bed rack, you can customize the design to fit your specific needs and save money compared to purchasing a pre-made rack.
Fortunately, building your own truck bed rack doesn’t have to be difficult or expensive. There are many DIY plans and tutorials available online, ranging from simple designs made from PVC pipe to more complex racks constructed from metal or wood. Depending on your skill level and the materials you choose, you can complete this project in a weekend or less.
Materials and Tools Needed for your Truck Bed Rack DIY
If you’re looking to build your own truck bed rack, you’ll need to have the right materials and tools. Here’s a rundown of what you’ll need:
Materials
| Unistrut or other metal framing material |
| Bolts, nuts, and washers |
| End caps for the Unistrut |
| Optional: spray paint or other materials for finishing |
Tools
| Saw or angle grinder for cutting the Unistrut to size |
| Drill with various drill bits |
| Driver for driving screws and bolts |
| Hammer for tapping the end caps into place |
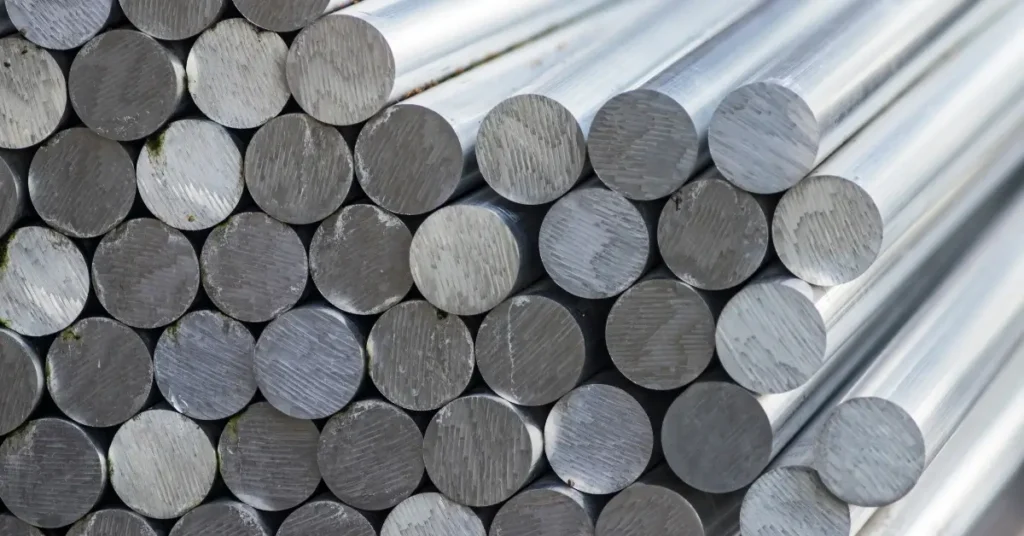
Most of these materials and tools can be found at your local home improvement store. Unistrut is a popular choice for building truck bed racks because it’s strong, lightweight, and easy to work with. You’ll need to cut the Unistrut to the appropriate size for your truck bed, which can be done with a saw or angle grinder.
Once you have the Unistrut cut to size, you’ll need to drill holes for the bolts that will hold everything together. Make sure to use the appropriate drill bit size for the bolts you’ve chosen.
You’ll also need a driver for driving the screws and bolts into the Unistrut. A hammer can be useful for tapping the end caps into place.
Finally, you may want to finish your truck bed rack with spray paint or other materials to protect it from the elements and give it a polished look.
With these materials and tools, you’ll be well on your way to building your own truck bed rack.
Building the Base
If you’re looking to build a truck bed rack DIY style, then you’ll need to start with a solid base. This is the foundation of your project, and it’s important to get it right. In this section, we’ll cover how to measure and cut the lumber for your base, as well as how to assemble it.
Measuring and Cutting the Lumber

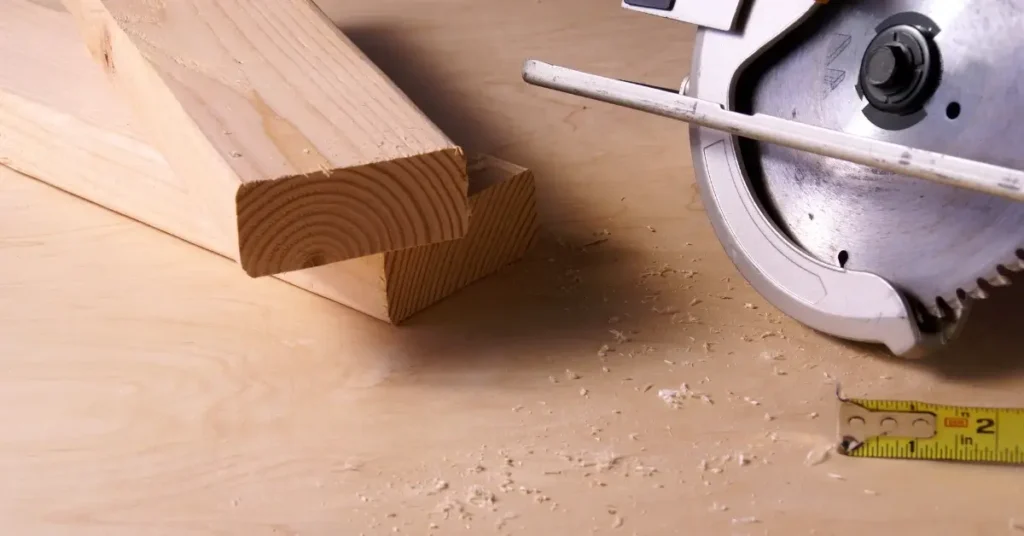
The first step in building your base is to measure and cut the lumber. You’ll need to determine the length and width of your base, as well as the height you want it to be. Once you have these measurements, you can purchase the lumber you need and cut it to size.
When cutting your lumber, it’s important to use a saw that can make accurate cuts. A circular saw or a miter saw are both good options. Make sure to measure twice and cut once to avoid any mistakes.
Assembling the Base
Once you have your lumber cut to size, it’s time to assemble the base. This can be done using screws or bolts, depending on your preference. If you’re using screws, make sure to pre-drill the holes to avoid splitting the wood.
Start by attaching the cross pieces to the side pieces. Then, attach the end pieces to the cross pieces. Make sure everything is square and level before tightening the screws or bolts.
Once your base is assembled, you can attach it to your truck bed using brackets or clamps. Make sure to secure it properly to avoid any accidents while driving.
With your base built, you’re one step closer to having a functional and sturdy truck bed rack DIY style. In the next section, we’ll cover how to add the uprights and crossbars to complete your project.
Building the Uprights
If you’re looking to build your own truck bed rack, one of the most important steps is building the uprights. This section will guide you through the process of measuring and cutting the uprights, as well as assembling them.
Measuring and Cutting the Uprights
The first step in building the uprights is to measure and cut the unistrut to the desired length. You’ll want to measure the height of your truck bed and add a few inches to ensure that the uprights will be tall enough to hold your cargo securely.
Once you’ve measured the unistrut, use a saw to cut it to the desired length. Be sure to wear safety goggles and use caution when cutting the metal.
Assembling the Uprights
After you’ve cut the unistrut to the desired length, it’s time to assemble the uprights. Start by attaching the base plates to the bottom of the unistrut using bolts and nuts. Make sure that the base plates are securely attached to the unistrut.
Next, attach the top plates to the top of the unistrut using bolts and nuts. Again, make sure that the top plates are securely attached to the unistrut.
Finally, attach the crossbars to the uprights using bolts and nuts. The crossbars should be spaced evenly along the uprights to provide maximum support for your cargo.
With the uprights assembled, you’re one step closer to having your own DIY truck bed rack. The next step is to attach the uprights to the bed of your truck using brackets and bolts.
Building your own truck bed rack can be a fun and rewarding project. By following these steps, you’ll have a sturdy and reliable rack that can hold all of your gear securely.
Attaching the Base and Uprights
Now that you have the materials and tools needed for your DIY truck bed rack, it’s time to start building. Attaching the base and uprights is the first step in creating a sturdy and reliable rack for your truck bed.
Drilling Holes
Before attaching the base and uprights, you need to drill holes in the base to allow for the bolts that will secure the uprights. Make sure to measure and mark the holes accurately to ensure that the uprights are level and secure.
To drill the holes, use a drill bit that is slightly smaller than the bolts you will be using. This will ensure a tight fit and prevent the bolts from loosening over time.
Attaching the Base to the Uprights
Once you have drilled the holes, you can attach the base to the uprights. Use bolts, washers, and nuts to secure the uprights to the base. Tighten the bolts securely, but be careful not to overtighten and strip the threads.
It’s important to ensure that the uprights are level and straight before tightening the bolts completely. Use a level to check that the uprights are vertical and adjust as needed before tightening the bolts.
By following these steps, you can attach the base and uprights of your DIY truck bed rack securely and confidently. With a sturdy base and uprights, you can move on to adding crossbars and other features to create a custom rack that meets your specific needs.
Remember, safety is key when building and using a truck bed rack. Always double-check your work and make sure your rack is secure before loading it with gear. With a little effort and attention to detail, you can create a truck bed rack that is both functional and stylish.
Adding Crossbars and Supports

Now that you have your mounting tracks securely attached to your truck bed, it’s time to add crossbars and supports to create a sturdy base for your cargo. This step is crucial in ensuring that your DIY truck bed rack can support the weight of your gear without bending or sagging.
Measuring and Cutting the Crossbars and Supports
Before you start cutting your crossbars and supports, it’s important to measure the distance between your mounting tracks to ensure a perfect fit. Measure the distance between your mounting tracks at both the front and back of your truck bed to account for any slight variations in width.
Once you have your measurements, it’s time to cut your crossbars and supports to the appropriate length. You can use a hacksaw or a chop saw to cut your crossbars and supports to size. Remember to wear safety goggles and gloves when cutting metal.
Attaching the Crossbars and Supports
Now that your crossbars and supports are cut to size, it’s time to attach them to your mounting tracks. Start by sliding your crossbars into the mounting tracks and securing them with bolts and nuts. Make sure that your crossbars are level and evenly spaced.
Next, attach your supports to your crossbars using bolts and nuts. You can use L-brackets or angle brackets to secure your supports to your crossbars. Make sure that your supports are perpendicular to your crossbars and evenly spaced.
Congratulations! You have successfully added crossbars and supports to your DIY truck bed rack. With a sturdy base in place, you can now load up your gear and hit the road with confidence.
Finishing Touches
Congratulations on building your own truck bed rack! Now it’s time to add some finishing touches to make it look and function even better. In this section, we’ll go over two important finishing touches: sanding and staining the rack, and adding tie-down points.
Sanding and Staining the Rack
Before you start staining, make sure to sand the entire rack to remove any rough edges or splinters. You can use a power sander or sandpaper to do this. Once you’ve sanded the rack, wipe it down with a clean cloth to remove any dust or debris.
Now it’s time to stain the rack. Choose a stain that matches the color of your truck or go for a contrasting color to make the rack stand out. Apply the stain with a brush or cloth, making sure to cover the entire surface of the rack. Let the stain dry completely before adding any additional coats.
Adding Tie-Down Points
Adding tie-down points to your truck bed rack will make it easier to secure your cargo. You can use eye bolts or D-rings for this. Simply drill a hole where you want to add the tie-down point and screw in the eye bolt or D-ring.
Make sure to add tie-down points to both the top and sides of the rack. This will give you more options for securing your cargo and prevent it from shifting during transport.
In conclusion, sanding and staining your truck bed rack and adding tie-down points are two important finishing touches that will make your rack look and function even better. With these simple steps, you can customize your rack to fit your needs and make it stand out on the road.
Why Build Your Own Truck Bed Rack DIY

If you own a truck, you know how versatile it can be. From hauling large items to going off-road, your truck can handle it all. However, sometimes you need to carry more than what can fit in the bed of your truck. This is where a truck bed rack comes in handy.
While you can buy a truck bed rack, building your own can be a rewarding experience. Here are a few reasons why you should consider building your own truck bed rack:
Customization
When you build your own truck bed rack, you have complete control over the design and materials used. This means you can customize it to fit your specific needs. Whether you need to carry lumber for a construction project or camping gear for a weekend trip, you can design a rack that meets your requirements.
Cost Savings

Buying a pre-made truck bed rack can be expensive. By building your own, you can save money and still get a high-quality product. You can choose materials that fit your budget and design a rack that meets your needs without breaking the bank.
Sense of Accomplishment
Building your own truck bed rack can be a fun and rewarding project. It allows you to use your creativity and problem-solving skills to design and build a functional piece of equipment for your truck. Plus, every time you use it, you’ll feel a sense of pride knowing that you built it yourself.
In conclusion, building your own truck bed rack can be a great way to customize your truck, save money, and feel a sense of accomplishment. With a little bit of time and effort, you can design and build a rack that meets your specific needs and enhances the functionality of your truck. So why not give it a try and see what you can create?
FAQ
What is a truck bed rack used for?
A truck bed rack is used to increase the storage capacity of a truck bed by providing additional space for carrying cargo, equipment, and other items. It can be used for various purposes such as camping, off-roading, and hauling construction materials.
Why do they call it headache rack?
The term “headache rack” is believed to have originated from the rack’s ability to prevent items from coming through the rear window and striking passengers in the back of the head, causing a headache.
How do you measure a truck rack?
To measure a truck rack, you need to measure the length and width of the truck bed, as well as the height of the cab. You also need to measure the distance between the crossbars and the length of the uprights.
If you liked this blog article about the topic: Truck Bed Rack DIY, don’t forget to leave us a comment down below to tell us about your experience.
If you are looking for other car projects, feel free to check out our tutorial for DIY Bumper.


[…] If you are looking for other car projects, feel free to check out our tutorial for a Truck Bed Rack DIY. […]
[…] you are looking for other projects to improve your truck, feel free to check out our tutorial for a Truck Bed Rack DIY or DIY Rock […]