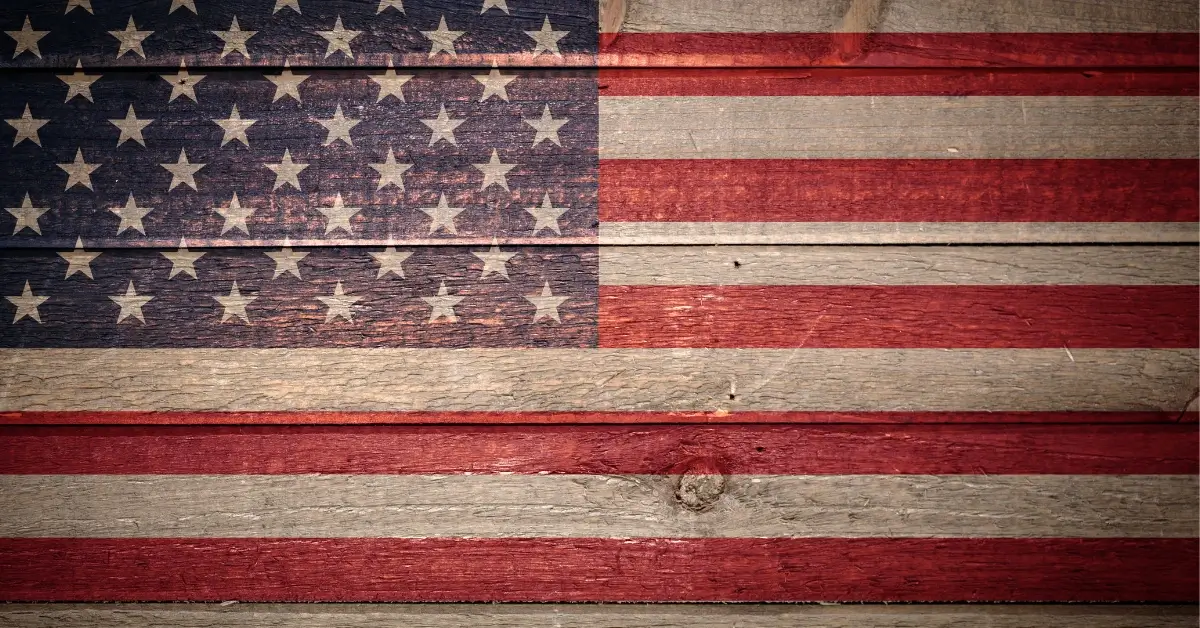
Are you looking for a fun and patriotic DIY project? Look no further than the DIY wooden American flag! Creating your own wooden flag is a great way to show off your love for the USA and add a unique touch to your home decor. Plus, it’s a fun and rewarding project that you can do yourself.
Building your own wooden American flag can seem daunting, but with the right tools and a little bit of patience, anyone can do it. There are many different ways to create a wooden flag, from rustic to polished, and you can personalize your flag to fit your own style. Whether you’re a seasoned woodworker or a beginner, building a wooden flag is a great way to hone your skills and create something truly special.
Material Selection for DIY Wooden American Flag
Are you ready to create your own DIY wooden American flag? One of the most important steps in this process is selecting the right materials. Choosing the right kind of wood and paint will ensure that your flag looks beautiful and lasts for years to come.
Wood Selection
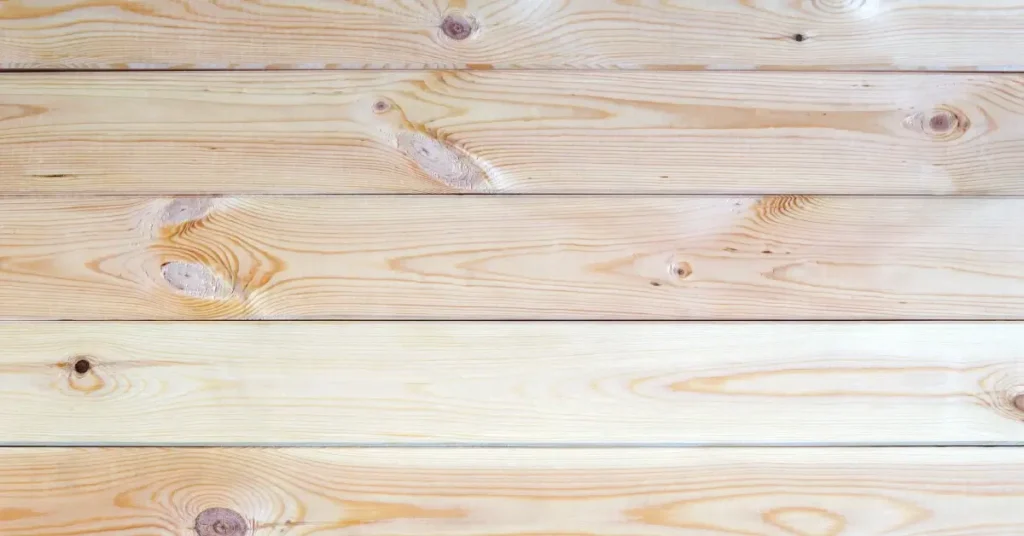
When it comes to wood selection, there are a few things to keep in mind. You want to choose a wood that is durable and can withstand the elements. Cedar and pine are both popular choices for wooden flags, but you can also use other types of wood such as oak, poplar, or even reclaimed wood.
Make sure to choose wood that is straight and free of knots, as this will make it easier to work with and create a more polished final product. You can also choose to sand the wood to smooth out any rough spots or imperfections.
Paint Selection
When it comes to paint selection, you want to choose a paint that is durable and weather-resistant. Acrylic paint is a popular choice for wooden flags, as it dries quickly and holds up well in outdoor conditions.
You’ll need red, white, and blue paint, as well as a stencil or template for the stars. You can also choose to use a wood stain to give your flag a more rustic or vintage look.
Other Materials
In addition to wood and paint, you’ll also need a few other materials to create your DIY wooden American flag. These include:
| Sandpaper |
| Wood glue |
| Nails or screws |
| Saw or jigsaw |
| Measuring tape |
| Paintbrushes |
Make sure to have all of these materials on hand before you begin your project. With the right materials and a little bit of creativity, you can create a beautiful DIY wooden American flag that you’ll be proud to display.
Tools Needed
Are you ready to create your very own DIY wooden American flag? Here are the tools you’ll need to get started:
Lumber
First, you’ll need lumber. The amount and size of the lumber will depend on the size of the flag you want to create. You can find lumber at your local hardware store or home improvement center.
Saw
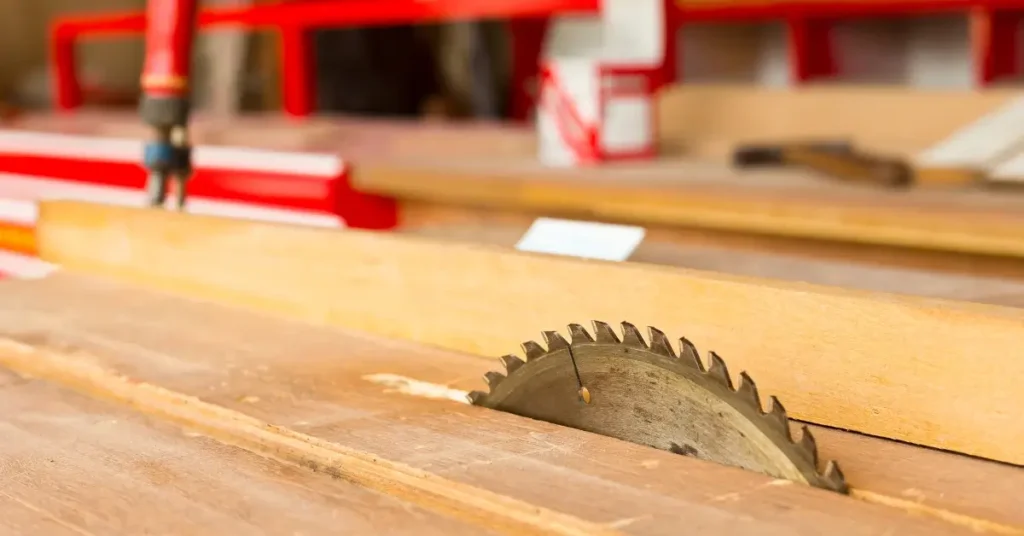
You’ll need a saw to cut the lumber to size. A miter saw or a circular saw will work for this project. If you don’t have a saw, most hardware stores offer lumber cutting services for a small fee.
Sandpaper
After cutting the lumber, you’ll need to sand it down to create a smooth surface. Use sandpaper with different grits to achieve the desired finish.
Paint and Brushes
To create the American flag design, you’ll need red, white, and blue paint. You can use spray paint or acrylic paint. You’ll also need brushes to apply the paint.
Stencils
If you want to create a perfect star pattern, you can use stencils. You can either purchase stencils or create your own using cardboard or paper.
Nail Gun or Hammer
Finally, you’ll need a nail gun or a hammer to attach the pieces of lumber together. Make sure to use nails that are appropriate for the thickness of the lumber.
Now that you know the tools you’ll need, it’s time to get started on your DIY wooden American flag. With a little patience and creativity, you’ll have a beautiful flag to display in no time.
Step-by-Step Guide
Making your own DIY wooden American flag is a great way to show your patriotism and add a rustic touch to your home decor. With a few basic tools and materials, you can create a beautiful and unique flag that you can be proud of. In this step-by-step guide, we will show you how to create your own DIY wooden American flag.
Cutting the Wood
The first step in creating your DIY wooden American flag is to cut the wood into the appropriate sizes. You will need seven red stripes, six white stripes, and a blue star field. You can use pine boards or any other type of wood that you prefer. The dimensions of the wood will depend on the size of the flag you want to make. You can use a table saw or circular saw to cut the wood to size.
Painting the Stripes
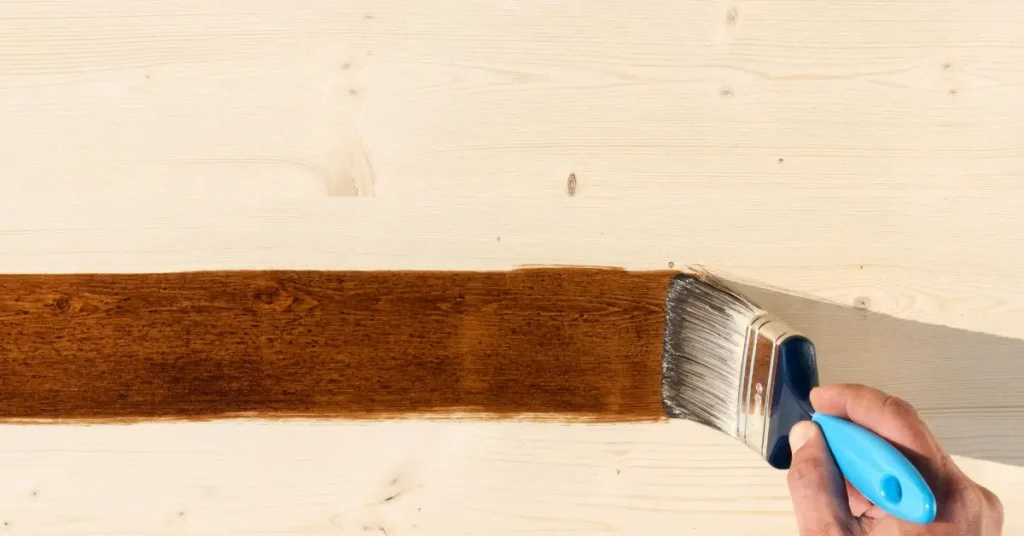
Once you have cut the wood to the appropriate sizes, you can begin painting the stripes. You will need red and white paint for this step. You can use a paintbrush or a roller to apply the paint. Make sure to let each coat dry completely before applying the next coat.
Creating the Star Field
The next step is to create the blue star field. You will need a stencil or a template to create the stars. You can use a star-shaped cookie cutter or a stencil that you can print out. Once you have the stencil, you can use a pencil to trace the stars onto the blue field. You can then paint the stars white.
Assembling the Flag
The final step is to assemble the flag. You will need wood glue and clamps for this step. Start by gluing the stripes together, alternating between red and white. Once the stripes are glued together, you can glue the blue star field onto the top left corner of the flag. Finally, you can glue the stripes onto a backboard or attach a hanger to the back of the flag.
Finishing Touches
Congratulations! You have successfully built your very own DIY wooden American flag. Now, it’s time to add some finishing touches to make your flag stand out.
Firstly, you can add a protective coat to your flag to make it weather-resistant. You can use a clear coat or a wood stain with a clear coat finish to protect your flag from the elements. This will also give your flag a glossy finish.
Next, you can add some decorative elements to your flag to make it unique. You can add stars to the blue union section using stencils or paint pens. You can also add some texture to the flag by distressing the wood using sandpaper or a wire brush.
If you want to display your flag outdoors, you can attach a sturdy hanger to the back of the flag. You can use picture hanging wire or D-rings to hang your flag on a wall or fence.
Finally, you can add some lighting to your flag to make it stand out at night. You can use LED strip lights or solar-powered lights to illuminate your flag. This will make your flag visible even in the dark.
In conclusion, adding some finishing touches to your DIY wooden American flag will make it stand out and look amazing. With a little creativity and some basic tools, you can create a beautiful and unique flag that you can be proud of.
Conclusion
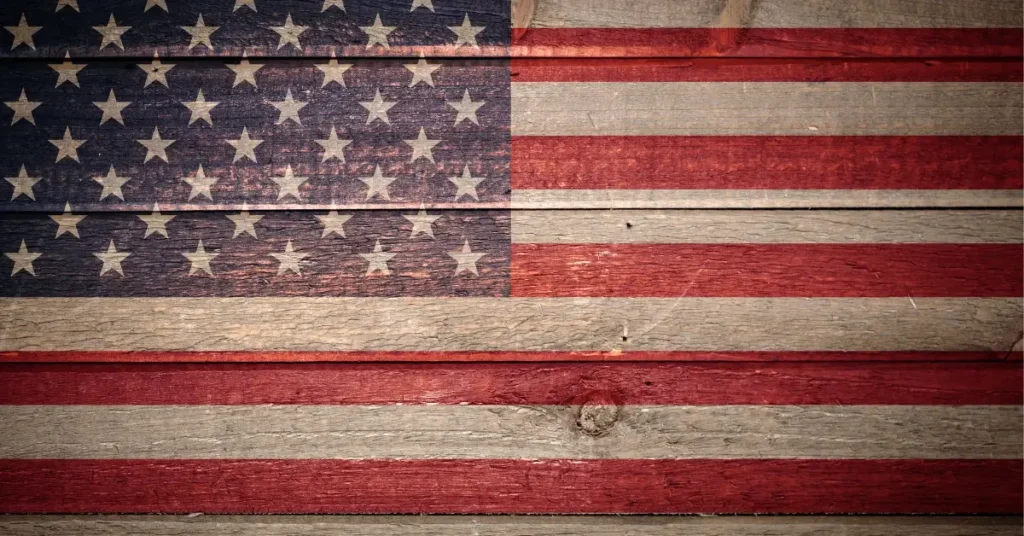
Congratulations! You have successfully built your very own DIY wooden American flag. Your hard work and dedication have paid off, and now you have a beautiful piece of art that you can proudly display in your home or yard.
Remember, there are many different ways to make a wooden American flag, and the possibilities are endless. You can customize your flag to fit your own personal style or to match the decor of your home. You can experiment with different types of wood, different sizes, and different finishes to create a truly unique and one-of-a-kind piece.
Building a DIY wooden American flag is not only a fun and rewarding project, but it is also a great way to show your patriotism and love for your country. Whether you are celebrating Independence Day, Memorial Day, or just want to display your American pride, a wooden American flag is the perfect way to do it.
So, what are you waiting for? Grab your tools, some lumber, and get started on your very own DIY wooden American flag today. With a little bit of time and effort, you can create a beautiful and meaningful piece that you will treasure for years to come.
FAQ
How big is a DIY wooden American flag?
The size of a DIY wooden American flag can vary depending on personal preference, but one example given by a source measures 17.5″ tall by 24″ wide with each board being 3.5″ tall by 24″ wide
How do you put stars on a wooden flag?
To put stars on a wooden flag, one can use a stencil and paint the stars on the flag. A 50-star stencil is commonly used. The stencil can be made with a vinyl cutter.
What is the best material to make a flag out of?
The best material to make a flag out of depends on the intended use. Nylon is popular for its versatility and durability, while cotton offers a classic look but is not recommended for long-term outdoor use. Polyester is also a durable option.
If you liked this blog article about the topic: DIY wooden American flag, don’t forget to leave us a comment down below to tell us about your experience.
If you are looking for a project to make your home cozy, feel free to check out our tutorial for DIY electric fireplace mantel.


[…] If you liked this blog article about the topic: DIY Mirror Stand, don’t forget to leave us a comment down below to tell us about your experience.If you are looking for a project to make your home cozy, feel free to check out our tutorial for a DIY wooden American flag. […]