Are you looking for a way to protect your vehicle while off-roading? Look no further than DIY rock sliders. These handy accessories attach to the side of your vehicle and provide a barrier between your doors and the rough terrain you may encounter. With the right tools and materials, building your own rock sliders can be a fun and rewarding DIY project.
Not only do rock sliders offer protection, but they can also enhance the appearance of your vehicle. You can customize the design to match your style and the specific needs of your vehicle. Whether you’re an experienced off-roader or just starting out, DIY rock sliders are a great addition to any 4×4 vehicle.
Understanding DIY Rock Sliders
If you’re an off-road enthusiast, you know that your vehicle’s rocker panels are vulnerable to damage from rocks, stumps, and other obstacles. That’s where rock sliders come in – they’re designed to protect your vehicle’s body from damage when you’re off-roading. In this section, we’ll cover the basics of rock sliders, including what they are, how they work, and why you might want to install them on your vehicle.
What Are Rock Sliders?

Rock sliders are metal bars that are mounted to the underside of your vehicle’s rocker panels. They’re designed to take the impact of rocks and other obstacles that you might encounter when you’re off-roading. Rock sliders can be made from a variety of materials, including steel, aluminum, and even plastic. They’re typically bolted or welded to the frame of your vehicle, and they’re designed to be strong enough to support the weight of your vehicle when it’s resting on them.
How Do Rock Sliders Work?
When you’re off-roading, your vehicle’s rocker panels are at risk of damage from rocks, stumps, and other obstacles. Rock sliders provide a barrier between your vehicle’s body and the obstacles you encounter on the trail. They’re designed to take the impact of rocks and other obstacles, which helps protect your vehicle’s body from damage. When you’re off-roading, you can use your rock sliders as a pivot point when you need to get around or over an obstacle.
Why Install DIY Rock Sliders?
If you’re an off-road enthusiast, installing rock sliders on your vehicle is a smart move. Not only do they protect your vehicle’s body from damage, but they also give you a convenient spot to step when you’re maneuvering around your 4×4. Plus, if you’re handy with tools, you can save money by installing your own rock sliders instead of paying a professional to do it for you. There are plenty of DIY rock slider plans available online that you can use as a starting point for your own project.
Why Choose DIY Rock Sliders
First and foremost, DIY rock sliders are a great way to save money. Pre-made rock sliders can be expensive, and installation costs can add up quickly. By building your own rock sliders, you can save hundreds of dollars and still get the same level of protection.
But saving money isn’t the only benefit of DIY rock sliders. Building your own sliders allows you to customize them to your specific needs. You can choose the materials, design, and dimensions that work best for your vehicle and your style of off-roading.
Another advantage of DIY rock sliders is that they can be a fun and rewarding project. Building your own sliders can be a great way to learn new skills and gain a sense of accomplishment. Plus, you’ll have the satisfaction of knowing that you built a high-quality, custom accessory for your vehicle.
Of course, building your own rock sliders does require some time and effort. You’ll need to gather materials, measure and cut the sliders to fit your vehicle, and install them properly. But with the right tools and some basic DIY skills, anyone can build their own rock sliders.
Overall, DIY rock sliders are a great choice for anyone looking to save money, customize their vehicle, and have a fun and rewarding project. So why not give it a try and build your own set of rock sliders today?
Choosing the Right DIY Rock Slider Kit
Are you looking to build your own rock sliders for your off-road vehicle? With so many options available, it can be overwhelming to choose the right DIY rock slider kit. In this section, we’ll go over some key factors to consider when selecting a kit.
Vehicle Compatibility: First and foremost, make sure the kit is compatible with your vehicle. Some kits are designed for specific makes and models, while others are more universal. Check the kit’s specifications to ensure it will fit your vehicle.
Weld-On vs. Bolt-On: DIY rock slider kits come in two main types: weld-on and bolt-on. Weld-on kits require welding skills and equipment, while bolt-on kits can be installed with basic hand tools. If you’re new to welding, a bolt-on kit may be a better option.

Material: Rock sliders are typically made from steel or aluminum. Steel is stronger and more durable, but also heavier. Aluminum is lighter but not as strong. Consider the type of off-roading you’ll be doing and the weight of your vehicle when selecting a material.
Length: The length of the rock slider should match the length of your vehicle’s rocker panel. A longer slider offers more protection but may also be heavier and more difficult to install.
Kickout: Some rock sliders come with a kickout, which is a bent section at the end of the slider that provides extra protection for the rear quarter panel. This can be a valuable feature if you do a lot of technical off-roading.
In summary, when choosing a DIY rock slider kit, consider your vehicle’s compatibility, the type of installation you prefer, the material, length, and whether a kickout is necessary. With these factors in mind, you can select the right kit for your off-road adventures.
Step-by-Step Guide to Install DIY Rock Sliders
In this guide, we will walk you through the preparation and installation process of DIY rock sliders.
Preparation
Before you begin, make sure you have all the necessary tools and materials. You may need a welding machine, angle grinder, drill, saw, and other equipment. You can purchase a DIY rock slider kit that includes all the necessary hardware and instructions, or you can gather the materials yourself. Be sure to measure your vehicle and the sliders carefully to ensure a proper fit.
Next, you will need to remove any existing steps or running boards that may be in the way. You may also need to remove the fender flares or trim pieces to access the mounting points. Clean the area thoroughly, removing any dirt or debris that may interfere with the installation process.
Installation

Begin by positioning the rock sliders under the vehicle and marking the mounting points. It may be helpful to have a friend assist you with holding the sliders in place while you mark the spots. Once you have the markings, drill holes for the bolts and then attach the sliders to the vehicle using the provided hardware.
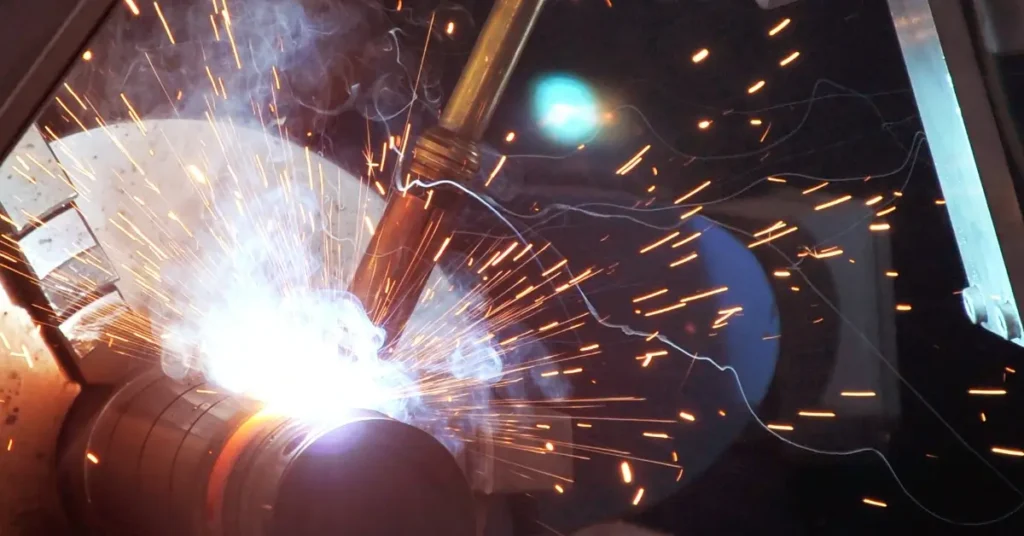
After the sliders are attached, it’s time to weld them to the frame. This step requires some welding experience, so if you are not confident in your abilities, it may be best to seek professional help. Weld the sliders to the frame, making sure they are secure and level.
Finally, test the rock sliders by driving over some rocks or obstacles. Make sure they are properly installed and can withstand the impact. Congratulations, you have successfully installed your own DIY rock sliders!
In conclusion, installing DIY rock sliders can be a fun and rewarding project for any off-road enthusiast. With the right tools and preparation, you can add an extra layer of protection to your vehicle while also saving money. Just remember to take your time, measure carefully, and seek professional help if needed.
Common Mistakes to Avoid
If you’re planning on installing DIY rock sliders, there are some common mistakes you should avoid to ensure a successful installation. Here are a few things to keep in mind:
1. Not Measuring Correctly
One of the biggest mistakes people make when installing rock sliders is not measuring correctly. This can lead to a lot of problems down the road, including sliders that don’t fit properly or don’t provide adequate protection. Make sure to measure your vehicle carefully before ordering or building your rock sliders. If you’re using a DIY rock slider kit, be sure to follow the instructions carefully and double-check your measurements before cutting any metal.
2. Using the Wrong Materials
Another common mistake is using the wrong materials for your rock sliders. While it might be tempting to use cheaper or lighter-weight materials, this can compromise the strength and durability of your sliders. Make sure to use high-quality materials that are designed to withstand the rigors of off-roading. If you’re not sure what materials to use, do some research or consult with a professional.
3. Not Properly Securing the Sliders
Once you’ve installed your rock sliders, it’s important to make sure they’re properly secured to your vehicle. This means using the right bolts, washers, and nuts, and making sure everything is tightened down properly. If your sliders aren’t securely attached, they won’t provide the protection you need when you’re out on the trails.
4. Rushing the Installation
Finally, one of the biggest mistakes you can make is rushing the installation process. Installing rock sliders takes time and patience, and rushing through it can lead to mistakes and problems down the road. Take your time, follow the instructions carefully, and don’t cut any corners. In the end, you’ll have a set of rock sliders that provide the protection you need and that you can be proud of.
By avoiding these common mistakes, you can ensure that your DIY rock sliders are installed correctly and provide the protection you need when you’re out on the trails.
Conclusion

Congratulations! You have successfully completed building your very own DIY rock sliders. These rock sliders are an excellent addition to your vehicle and will provide you with the necessary protection you need when off-roading.
It is important to note that the materials used in the construction of the rock sliders should be of high quality to ensure durability and strength. The thickness of the steel used should be appropriate for the weight of your vehicle and the terrain you will be driving on.
When installing the rock sliders, make sure they are securely bolted to the frame of your vehicle. This will ensure that they can withstand the impact of rocks and other obstacles you may encounter on the trail.
Remember to maintain your rock sliders regularly to ensure they remain in good condition. Check for any signs of damage or wear and tear, and repair or replace them as necessary.
Overall, building your own DIY rock sliders can be a fun and rewarding project. Not only will it save you money, but it will also give you the satisfaction of knowing that you built something that will protect your vehicle and enhance your off-roading experience.
So go ahead and take the plunge. Build your own rock sliders and hit the trails with confidence!
FAQ
Why are rock sliders important?
Rock sliders are important for off-roading vehicles as they protect the rocker panels, body, and underside from damages caused by rocks or other obstacles on the off-roading trails. They also provide a convenient spot to step when maneuvering around your 4×4.
What is the difference between a rock slider and a side step?
Rock sliders are designed to protect the vehicle’s body and undercarriage from damage while off-roading. Side steps, on the other hand, provide a practical benefit by improving access to your vehicle. They are not designed to provide vehicle protection.
Can rock sliders be used as steps?
Rock sliders can be used as steps, but it is not recommended as they are primarily designed to protect the vehicle’s body and undercarriage from damage while off-roading. Using them as steps can cause damage to the sliders and the vehicle.
What are rock sliders made of?
Rock sliders are made of thick materials, such as steel or aluminum, of a decent manufacturing grade. The materials used are designed to withstand the weight of the vehicle and the impact of rocks or other obstacles on the off-roading trails.
If you liked this blog article about the topic: DIY Rock Sliders, don’t forget to leave us a comment down below to tell us about your experience.
If you are looking for other car projects, feel free to check out our tutorial for a Truck Bed Rack DIY.


[…] If you are looking for other projects to improve your truck, feel free to check out our tutorial for a Truck Bed Rack DIY or DIY Rock Sliders. […]