Are you in search of an original and imaginative costume for your upcoming Halloween celebration or cosplay event? Look no further and create a DIY Red Riding Hood costume! With its classic fairytale charm and endless customization options, a Red Riding Hood costume is the perfect choice for anyone who wants to stand out from the crowd while still keeping things fun and festive.
Whether you’re a seasoned DIY expert or just starting out, there are plenty of options available for creating your own Little Red Riding Hood costume from scratch.
From simple sewing projects to more complex designs that incorporate a variety of different materials and techniques, there’s no shortage of ways to bring this iconic character to life. And with so many different variations on the classic Red Riding Hood theme, you can easily customize your costume to suit your personal style and preferences.
So if you’re ready to unleash your inner fairytale heroine and create a DIY Red Riding Hood costume that’s sure to turn heads, start exploring your options today!
Materials for your DIY Red Riding Hood Costume

If you’re looking to create a DIY Little Red Riding Hood costume, then you’ll need to gather some essential materials. Here are the fabrics and accessories that you’ll need to create your costume.
Fabrics
When it comes to fabrics, you’ll need to choose the right colors and textures to bring your costume to life. For the main part of the costume, you’ll need a red dress or skirt and blouse combination. You can choose any shade of red, but a bright, bold red will make you stand out in a crowd. A white blouse will complement the red nicely, and you can add a black or white apron to complete the look.
For the cape, you’ll need a soft, flowing fabric that drapes nicely. Fleece or felt are good options, as they’re easy to work with and keep you warm on a chilly Halloween night. You can also use a silky or velvet fabric for a more luxurious look.
Accessories

Accessories are key to completing your Little Red Riding Hood costume. Here are some items that you’ll need:
- Basket: A wicker basket is the perfect accessory to carry your goodies in. You can also add some faux flowers or greenery to make it look more authentic.
- Red Hood: The hood is the most important part of the costume, as it’s what makes Little Red Riding Hood recognizable. You can make your own hooded cape using a pattern or purchase one online.
- Shoes: Black or brown shoes will work well with your costume. You can wear boots or flats, depending on your preference.
- Tights: Red or white tights will complete the look and keep you warm
- Accessories: You can add some finishing touches to your costume with accessories like a brooch, necklace, or earrings.
With these fabrics and accessories, you’ll be able to create a beautiful Little Red Riding Hood costume.
Making the Hooded Cape
If you’re looking to create a DIY Red Riding Hood costume or DIY Little Red Riding Hood costume, then a hooded cape is an essential piece to complete the look. With some basic sewing skills and a few materials, you can make your own hooded cape in no time. In this section, we’ll guide you through the process of making a hooded cape for your DIY Red Riding Hood costume.
Cutting the Fabric
The first step in making a hooded cape is to cut the fabric. You will need two pieces of fabric, one for the outside of the cape and one for the lining. The fabric you choose can vary depending on your preference, but for a classic Red Riding Hood look, a red fabric is a great choice.
To cut the fabric, use a pattern or create your own by measuring the length and width of the cape you want. Once you have your pattern, place it on the fabric and cut out two pieces, one from the outside fabric and one from the lining fabric. Be sure to leave a seam allowance around the edges.
Sewing the Cape
Once you have your fabric pieces cut out, it’s time to sew the cape. Start by placing the two fabric pieces right sides together and pinning them in place. Sew around the edges, leaving a small opening at the bottom for turning.
Next, turn the cape right side out and sew the opening closed. Then, create the hood by folding the fabric in half and sewing along the back seam. Attach the hood to the cape by sewing it along the neckline.
Finally, add any embellishments you want, such as a ribbon tie or decorative trim. And there you have it, your very own hooded cape for your DIY red riding hood costume!
Making the Dress
If you’re looking to create your own DIY Red Riding Hood costume, making the dress is a crucial part of the process. Here’s a guide to help you get started.
Cutting the Fabric
First, select the fabric you want to use for the dress. Red velvet or cotton are popular choices, but you can use any material you like. Once you have the fabric, you’ll need to measure and cut it to the appropriate size. Here are the steps:
- Measure your chest, waist, and hips to determine the size of the dress you need.
- Cut the fabric into two pieces: one for the front of the dress and one for the back.
- Use a pattern or a dress form to ensure that the fabric is cut to the right shape and size.
Sewing the Dress
Once you have the fabric cut, it’s time to sew the dress together. Here’s how to do it:
- Begin by pinning the front and back pieces of the dress together at the shoulders and sides.
- Sew the pinned edges together using a sewing machine or by hand.
- Hem the bottom of the dress to the desired length.
- Add any additional details you want, such as lace or ribbon.
With these steps, you’ll have a beautiful DIY Little Red Riding Hood costume dress that’s ready to wear. With a little bit of time and effort, you can create a beautiful and unique costume.
Finishing Touches
Now that you have the basic elements of your DIY Red Riding Hood costume ready, it’s time to add the finishing touches to make it truly stand out. In this section, we’ll cover two important sub-sections: Adding Details and Putting It All Together.
Adding Details
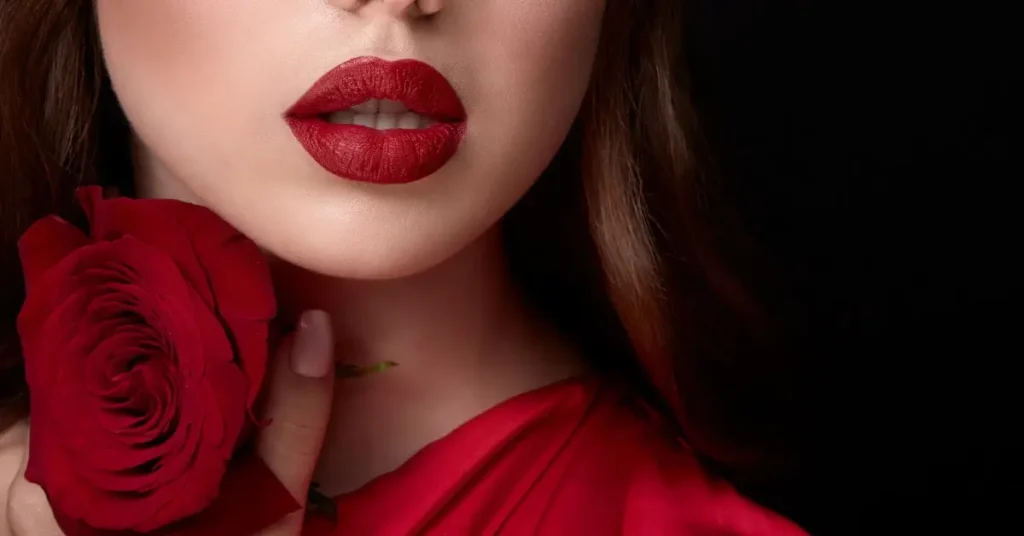
The devil is in the details, as they say, and it’s the little things that can really make your costume pop. Here are some ideas for adding those extra details to your DIY Little Red Riding Hood costume:
- Accessories: Consider adding a basket filled with goodies, a pair of lace-up boots, and a pair of white gloves to complete the look.
- Makeup: A bold red lip and rosy cheeks can give you that rosy-cheeked, innocent look of Little Red Riding Hood.
- Hair: A simple hairstyle like a low bun or braids can give you that classic fairy tale look.
Putting It All Together
Once you have all the elements of your costume in place, it’s time to put it all together. Here are some tips to help you do that:
- Try it on: Make sure everything fits and looks the way you want it to. Make adjustments as needed.
- Practice your walk: If you’re going to a costume party or event, practice walking in your costume to make sure you’re comfortable.
- Take a test photo: Take a photo of yourself in your costume to make sure everything looks good and nothing is out of place.
With these finishing touches, your DIY Little Red Riding Hood costume is sure to turn heads and make you the belle of the ball.
FAQ
What is the moral of the story Red Riding Hood?
The moral of the story Red Riding Hood is to not to trust strangers, as they may have bad intentions.
What does the Red Riding Hood symbolize?
The Red Riding Hood symbolizes innocence and purity, as well as vulnerability and naivety. The red hood also represents puberty and coming of age.
What was Little Red Riding Hood’s famous line?
Little Red Riding Hood’s famous line is “What big eyes you have!”
Does Little Red Riding Hood wear braids?
There is no consistent depiction of Little Red Riding Hood wearing braids across different versions of the story. In some versions, she is depicted with braids, while in others, she is shown with loose hair or a different hairstyle.
If you liked this blog article about the topic: DIY Red Riding Hood Costume, don’t forget to leave us a comment down below to tell us about your experience.
If you’re looking for a more fun costume, feel free to check out our DIY shrek costume tutorial.



[…] you’re looking for a more classy and chic costume, feel free to check out our DIY Red Riding Hood custome […]
[…] you’re looking for a more chic and beautiful costume, feel free to check out our DIY Red Riding Hood Costume […]
[…] you’re looking for a more classy and chic costume, feel free to check out our DIY Red Riding Hood custome […]
[…] you’re looking for similar costumes, feel free to check out our DIY Red Riding Hood Costume […]