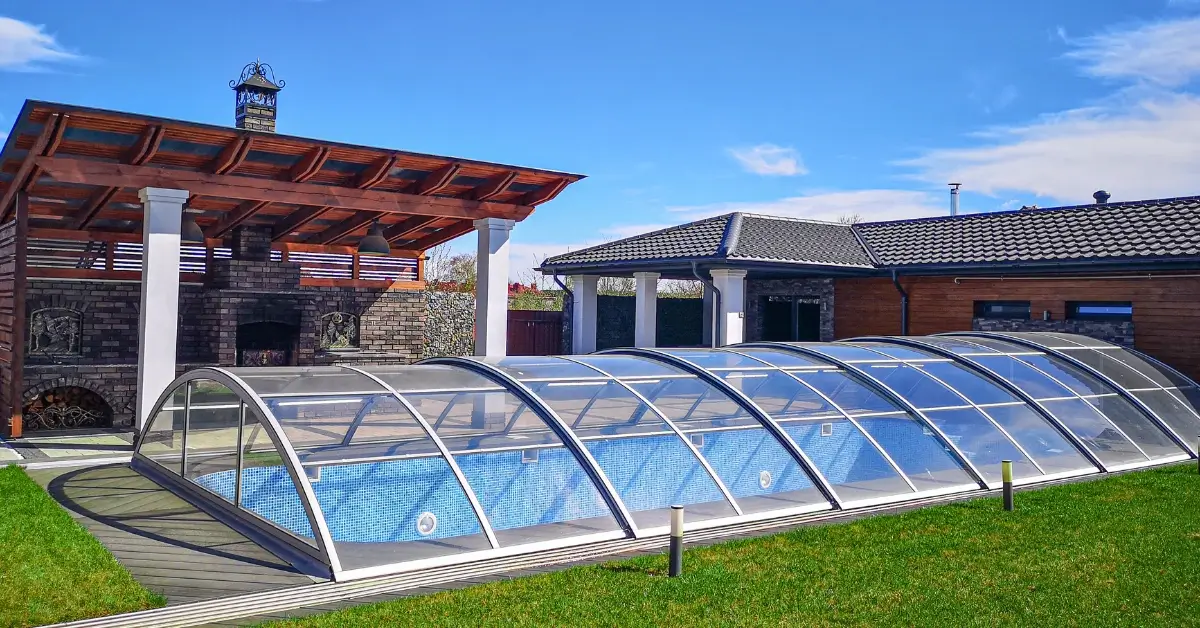
Are you tired of constantly cleaning your pool from debris and pests? Do you want to extend your swimming season and enjoy your pool all year round? If so, a DIY pool dome might be just what you need!
A pool dome is a great way to protect your pool from the elements, keep the water clean, and even reduce heating costs. With a DIY pool dome, you can save money on installation costs and customize the design to fit your specific needs. Plus, building your own pool dome can be a fun and rewarding DIY project that you can do with family or friends.
Materials Needed for a DIY Pool Dome
Are you looking to build your own DIY pool dome? It’s a great way to extend your swimming season and protect your pool from the elements. But before you get started, you’ll need to gather the necessary materials. Here’s what you’ll need:
Frame Materials
The frame is the backbone of your pool dome, so it’s important to choose sturdy materials that can withstand the weight of the cover. Here are some options:
- PVC pipes: Lightweight, affordable, and easy to work with, PVC pipes are a popular choice for DIY pool domes. You can find them at most hardware stores, and they come in a variety of sizes and shapes.
- Aluminum tubing: Stronger than PVC pipes, aluminum tubing is a good choice if you live in an area with heavy snow loads. It’s also more expensive and harder to work with than PVC pipes.
- Steel tubing: The strongest option, steel tubing is ideal for large pool domes or areas with high wind loads. However, it’s also the most expensive and difficult to work with.
Cover Materials
The cover is what keeps your pool clean and protected from the elements. Here are some options for cover materials:
- Polycarbonate panels: Durable and long-lasting, polycarbonate panels are a popular choice for pool domes. They come in clear or tinted versions and can withstand hail, wind, and snow.
- PVC-coated polyester: A more affordable option, PVC-coated polyester is lightweight and easy to install. However, it’s not as durable as polycarbonate panels and may need to be replaced more frequently.
- Screen material: If you live in a warm climate and want to keep bugs and debris out of your pool, screen material is a good choice. It’s also the most affordable option, but won’t provide as much protection from the elements as polycarbonate or PVC-coated polyester.
With these materials, you’ll be well on your way to building your own DIY pool dome. Just remember to choose materials that are appropriate for your climate and pool size, and follow all safety guidelines when constructing your dome.
Step-by-Step Guide to Building a DIY Pool Dome
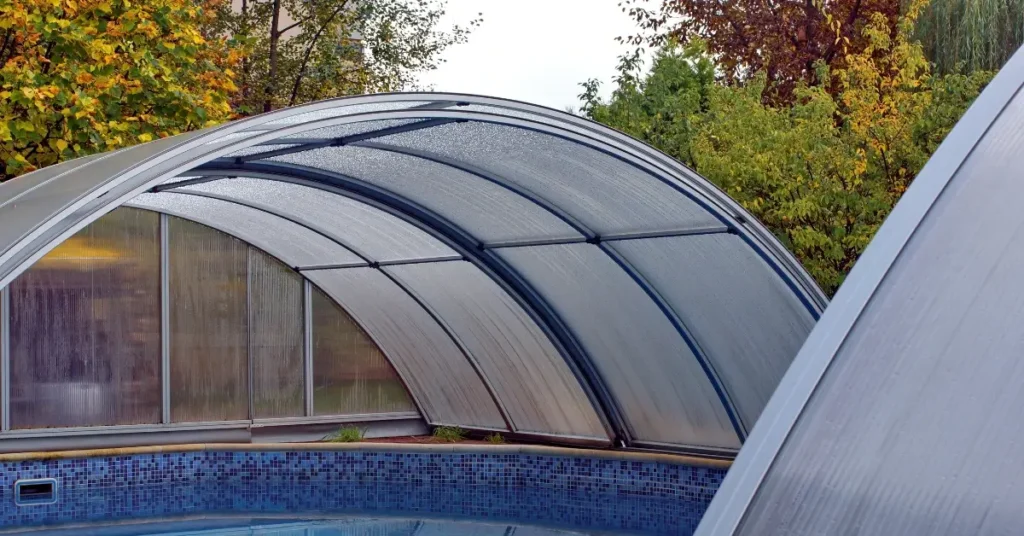
If you’re looking to upgrade your swimming pool experience, building a DIY pool dome is a great way to do it. Not only does it protect you from the elements, but it also keeps your pool clean and safe from debris. In this step-by-step guide, we’ll show you how to build a DIY pool dome from start to finish.
Preparing the Ground
Before you start building your pool dome, you need to prepare the ground. The first step is to level the ground where the dome will be installed. You can use a shovel or a garden tiller to remove any grass or weeds and level the soil. Once the ground is level, you can mark out the perimeter of the dome using stakes and string.
Building the Frame
The next step is to build the frame of the pool dome. You can use PVC pipes or metal tubing to create the frame. Make sure to measure and cut the pipes or tubing to the correct length before assembling the frame. Once the frame is assembled, you can attach it to the ground using anchors or stakes.
Installing the Cover
The final step is to install the cover of the pool dome. You can use a variety of materials for the cover, such as clear plastic or mesh netting. Make sure to measure and cut the cover to the correct size before installing it. You can attach the cover to the frame using zip ties or clips.
In conclusion, building a DIY pool dome is a great way to protect your pool and enhance your swimming experience. By following these simple steps, you
Benefits of a DIY Pool Dome
Are you looking for a cost-effective way to enjoy your pool year-round? Look no further than a DIY pool dome! Not only can a pool dome save you money in the long run, but it also offers several benefits that will enhance your swimming experience.
Protection from the Elements
One of the most significant advantages of a pool dome is protection from the elements. A DIY pool dome can shield your pool from harsh weather conditions such as wind, rain, and snow. This means you won’t have to worry about debris falling into your pool or cleaning up after a storm. Additionally, a pool dome can help keep leaves, insects, and other unwanted visitors out of your pool, making maintenance a breeze.
Extended Swimming Season

Another benefit of a DIY pool dome is an extended swimming season. With a pool dome, you can enjoy your pool even when the weather is less than ideal. A pool dome can help trap heat and keep your pool warm, so you can swim comfortably even on cooler days. Plus, a pool dome can help reduce the amount of water evaporation, which means you won’t have to refill your pool as often.
In summary, a DIY pool dome offers several benefits that can enhance your swimming experience. From protection against the elements to an extended swimming season, a pool dome can save you money and make pool maintenance a breeze. So why wait? Start your DIY pool dome project today and enjoy your pool year-round!
Maintenance of a DIY Pool Dome
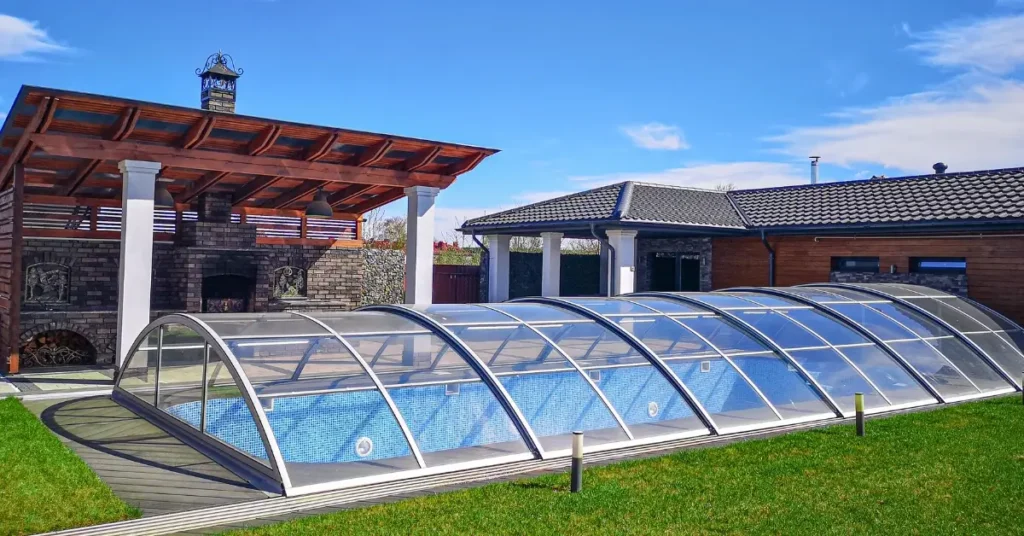
Congratulations on your successful DIY pool dome installation! Now that your pool is enclosed, you can enjoy swimming year-round without worrying about the weather. However, to keep your pool dome in top condition, you need to perform regular maintenance. In this section, we will discuss how to clean the cover and repair the frame of your DIY pool dome.
Cleaning the Cover
To keep your pool dome cover clean, you should remove debris such as leaves, twigs, and dirt regularly. You can use a soft-bristled broom or a leaf blower to remove any debris from the top of the cover. For tougher stains, you can use a mild detergent and warm water to gently scrub the cover. Avoid using harsh chemicals or abrasive cleaners, as they can damage the cover.
If you live in an area with heavy snowfall, you should remove snow from the cover regularly to prevent damage. You can use a soft-bristled broom or a snow rake to remove snow from the top of the cover. Be gentle and avoid using sharp objects that can puncture or tear the cover.
Repairing the Frame
Over time, the frame of your DIY pool dome may become damaged due to weather conditions or wear and tear. If you notice any cracks or holes in the frame, you should repair them as soon as possible to prevent further damage.
To repair the frame, you can use a patch kit or replace the damaged parts. Make sure to follow the manufacturer’s instructions carefully and use the recommended tools and materials. If you are unsure how to repair the frame, you can contact a professional for assistance.
In conclusion, regular maintenance is essential to keep your DIY pool dome in top condition. By following these simple tips, you can enjoy swimming year-round in a clean and safe environment.
FAQ
How do pool domes work?
Pool domes work as enclosures for swimming pools, providing a cover that allows swimming during colder months and protects the pool from debris. They can be inflatable or tubular frame, and are available for both above ground and inground pools.
Do pool enclosures work in winter?
Yes, pool enclosures can work in winter by protecting the pool from the elements and keeping it warmer. Retractable enclosures can be opened during warmer days, while solid covers can provide more protection but require more maintenance
How do inflatable pool domes work?
Inflatable pool domes are made from multiple layers of fabric and stay inflated with constant air pressure. They act as a solar cover by absorbing sunlight and trapping warm air around the pool to prevent heat loss.
If you liked this blog article about the topic: Electric Fireplace DIY, don’t forget to leave us a comment down below to tell us about your experience.
If you are looking for other projects to improve your home, feel free to check out our tutorial for a Electric Fireplace DIY.

