Are you a fan of the adorable yellow minions from the Despicable Me movies? If so, you’ll love creating your own DIY minion shirt! Whether you’re looking for a fun activity to do with your kids or want to make a unique gift for a friend, making your own minion shirt is a great way to show off your love for these lovable characters.
There are many different ways to create your own DIY minion shirt. From tie-dye designs to simple painted shirts, there are options for every skill level. You can even create your own stencil or use a pre-made design to make the process even easier. With a little creativity and some basic crafting supplies, you can create a one-of-a-kind minion shirt that is sure to turn heads. So why not try making your own DIY minion shirt today?
Materials Needed for a DIY Minion Shirt
If you’re looking to create your own DIY Minion shirt, you’ll need a few materials to get started. These materials are easy to find and can be purchased at your local craft store or online. Here are the materials you’ll need:
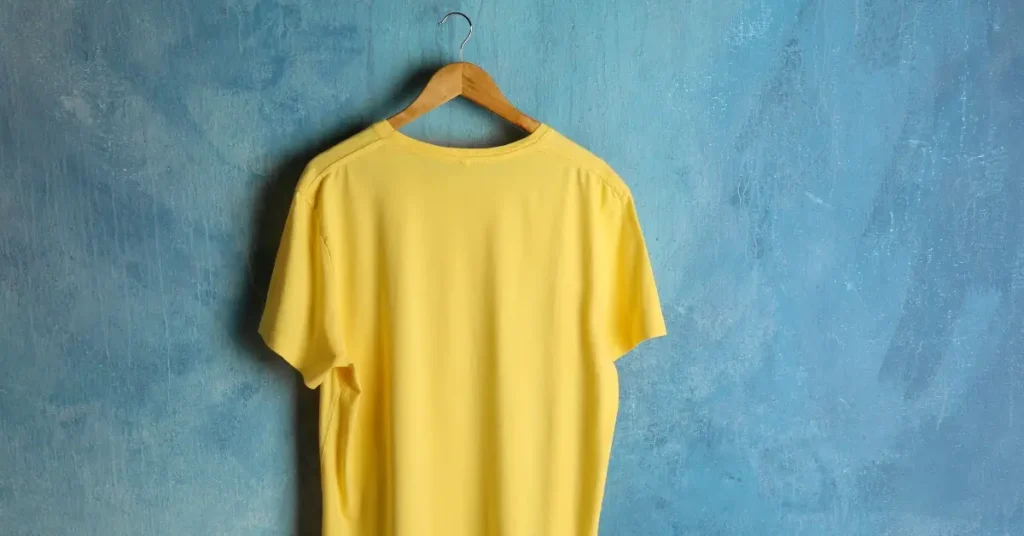
- Yellow T-Shirt: You’ll need a yellow t-shirt to serve as the base of your Minion shirt. Make sure to choose a shirt that fits well and is comfortable to wear.
- Heat Transfer Vinyl: You’ll need white, black, and gray heat transfer vinyl to create the Minion’s eyes, mouth, and goggles. Remember to flip/mirror your images when cutting heat transfer vinyl with a machine, so your text won’t be backwards when you iron it on.
- Fabric Paint: You’ll need black and gray fabric paint to create the Minion’s straps and other details on the shirt.
- Paint Brushes: You’ll need a few different sizes of paint brushes to apply the fabric paint to your shirt.
- Cardboard: You’ll need a piece of cardboard to insert inside your shirt while you paint to prevent the paint from bleeding through.
- Velcro: You’ll need Velcro to attach the Minion’s goggles to the shirt.
- Needle and Thread: You’ll need a needle and thread to sew the Velcro onto the shirt.
Creating your own DIY Minion shirt is a fun and easy project that anyone can do. With just a few materials and some creativity, you can create a unique and personalized Minion shirt that’s perfect for any occasion.
Preparing the Shirt
If you want to make your own DIY Minion shirt, you need to start by preparing the shirt properly. This will ensure that the paint adheres well to the fabric and lasts longer. In this section, we will discuss how to wash and iron your shirt before you start painting.
Washing the Shirt
The first step in preparing your shirt is washing it. You want to make sure that the shirt is clean and free of any dirt, oil, or other contaminants that could prevent the paint from sticking. Use a mild detergent and wash the shirt in cold water. Avoid using fabric softeners or bleach, as they can damage the fabric and affect the paint’s adhesion.
Ironing the Shirt
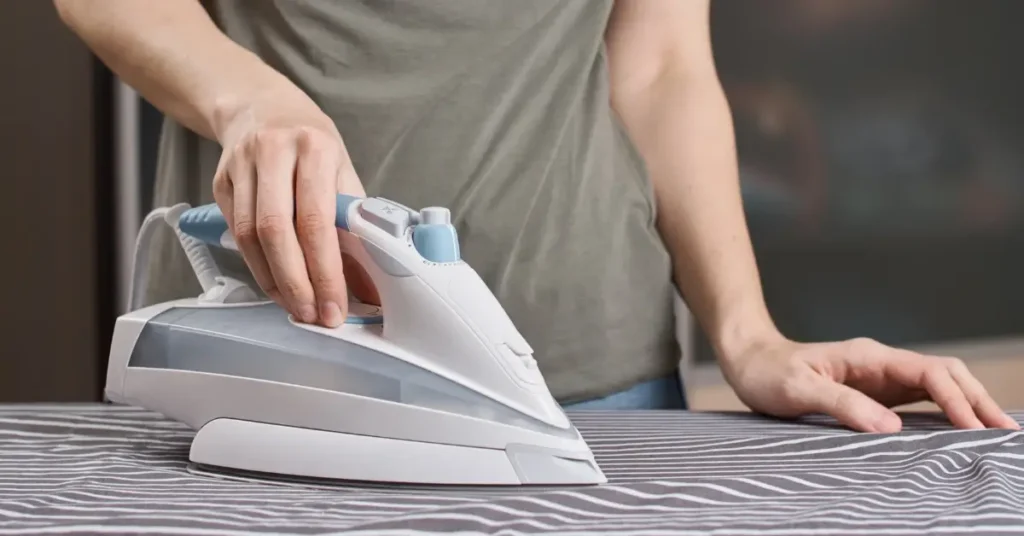
Once you have washed the shirt, you need to iron it. This will help to remove any wrinkles and create a smooth surface for painting. Use a medium to high setting on your iron and make sure that the shirt is completely dry before you start ironing.
To iron the shirt, start with the collar and work your way down to the bottom hem. Be careful not to stretch or distort the fabric as you iron. If you are using a heat transfer vinyl, follow the manufacturer’s instructions for ironing.
By properly washing and ironing your shirt, you will ensure that your DIY Minion shirt looks great and lasts longer.
Creating the Minion Design
If you’re looking to make your own DIY minion shirt, one of the most important steps is creating the minion design. This section will walk you through the process of choosing, printing, and cutting your design.
Choosing the Design
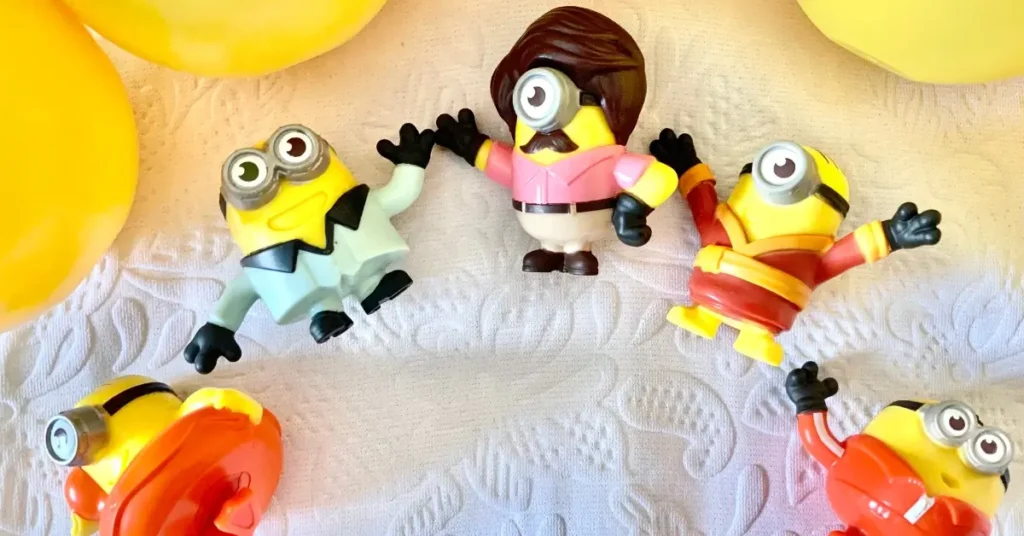
The first step in creating your minion design is choosing what you want it to look like. There are plenty of options out there, from simple one-eyed minions to more complex designs featuring multiple minions or other characters from the Despicable Me universe.
Consider what you want your shirt to look like and what materials you’ll be working with. If you’re using iron-on transfer paper, for example, you’ll need to make sure your design is simple enough to transfer easily.
Printing the Design
Once you’ve chosen your design, it’s time to print it out. Make sure to use high-quality transfer paper and a printer that can handle the size and complexity of your design.
When printing, make sure to reverse the image so that it will appear correctly when transferred onto your shirt. If you’re using multiple colors, you’ll need to print each color separately.
Cutting the Design
After printing, it’s time to cut out your design. Use sharp scissors or a craft knife to carefully cut around the edges of your design, making sure to leave a small border of transfer paper around the edges.
If you’re using multiple colors, you’ll need to cut out each color separately and layer them on top of each other when transferring to your shirt.
With these steps, you’re well on your way to creating your own DIY minion shirt. Just follow these tips and you’ll have a unique and fun shirt that’s sure to turn heads.
Transferring the Design
If you want to make your own DIY Minion shirt, you will need to transfer the design onto the shirt. This process involves positioning the design and transferring it onto the shirt. Here’s how to do it:
Positioning the Design
The first step is to decide where you want to place the design on the shirt. You can use a ruler or measuring tape to make sure the design is centered and straight. You can also use a piece of chalk or a fabric marker to mark the spot where you want to place the design.
Transferring the Design onto the Shirt
Once you have positioned the design, it’s time to transfer it onto the shirt. There are a few different methods you can use to transfer the design, including:
- Iron-on transfer paper: This is a popular method that involves printing the design onto transfer paper and then ironing it onto the shirt.
- Heat transfer vinyl: This method involves cutting the design out of vinyl and then using a heat press or iron to transfer it onto the shirt.
- Freezer paper stenciling: This method involves cutting the design out of freezer paper and then using fabric paint to transfer it onto the shirt.
No matter which method you choose, be sure to follow the instructions carefully to ensure that the design transfers properly onto the shirt.
Overall, transferring the design is an important step in creating your own DIY Minion shirt. By positioning the design and transferring it onto the shirt, you can create a unique and personalized shirt that is sure to impress.
Finishing Touches
Congratulations! You have successfully created your very own DIY Minion shirt. Now, it’s time to add some finishing touches to make your shirt stand out from the crowd.
Adding Details
To add some extra details to your shirt, consider the following options:
- Goggles: No Minion costume is complete without their iconic goggles! You can easily make your own goggles using materials like cardboard, plastic cups, or even foam sheets. Check out this tutorial for some inspiration.
- Hair: Create some wild and crazy Minion hair by using a combination of blue and black pipe cleaners. Simply twist the pipe cleaners together and attach them to the top of your shirt.
- Overalls: If you want to take your Minion costume to the next level, consider adding a pair of denim overalls. You can easily find a pair at your local thrift store or create your own using fabric and a sewing machine.
- Buttons: Add some personality to your shirt by sewing on some colorful buttons. Choose buttons that match your Minion’s personality, like red buttons for a mischievous Minion or green buttons for a friendly one.
- Pockets: Create some functional pockets on your shirt by sewing on some fabric or felt. These pockets can be used to hold your phone, keys, or other small items.
With these finishing touches, your DIY Minion shirt is sure to be a hit at any costume party or event. Have fun and get creative with your design!
Wearing Your DIY Minion Shirt
You’ve done it! You’ve successfully created your very own DIY Minion shirt. Now, it’s time to show off your creation to the world. Here are some tips on how to wear your shirt and make a statement.
Firstly, consider pairing your DIY Minion shirt with some denim shorts or jeans. This will help to balance out the loud and colorful design of the shirt. Alternatively, you could also wear a pair of black leggings or joggers to create a more casual look.
When it comes to footwear, you can’t go wrong with a pair of sneakers or flats. If you’re feeling bold, you could even opt for a pair of yellow shoes to match your Minion shirt. Just be sure to keep the rest of your outfit neutral to avoid clashing.
If you’re heading to a Minion-themed party or event, you can take your outfit to the next level by accessorizing with some Minion-themed items. Consider wearing a pair of goggles or a yellow beanie to complete your look. You could even carry around a stuffed Minion toy for added fun.
Finally, don’t forget to take a selfie or two in your DIY Minion shirt to show off your hard work. You can share it on social media and inspire others to create their own Minion-themed clothing.
Wearing your DIY Minion shirt is a fun and creative way to express your love for the Despicable Me franchise. With these tips, you can rock your Minion shirt with confidence and style.
FAQ
Who is the smallest minion?
Kevin holds the Guinness World Record for being the smallest minion yet, with a height of just 6cm (shrunken by Gru using the shrink ray)
Where did Gru steal the Eiffel Tower from?
Gru stole the Eiffel Tower from Las Vegas
How many fingers do Minions have?
Minions have three fingers on each hand.
If you liked this blog article about the topic: DIY Minion Shirt, don’t forget to leave us a comment down below to tell us about your experience.
If you’re looking for complete costumes, feel free to check out our DIY Toad Costume Tutorial.


[…] you’re looking for other costumes, feel free to check out our DIY Minion Shirt […]