Are you looking to improve your kayak fishing experience? One way to do so is by installing a DIY kayak rod holder. A kayak rod holder is a simple yet essential accessory that allows you to keep your fishing rod secure and within reach while paddling or fishing.
There are several types of DIY kayak rod holders you can make, including PVC pipe holders, milk crate holders, and cooler attachments. Each type has its own advantages and disadvantages, so it’s important to choose the one that best suits your needs. For example, a PVC pipe holder is easy to make and can be customized to fit your specific rod and reel, while a milk crate holder provides additional storage space for your gear.
To help you get started, we’ve put together a comprehensive guide to building your own DIY kayak rod holder. In this guide, you’ll find step-by-step instructions and tips for making different types of rod holders, as well as a list of materials and tools you’ll need. So whether you’re a seasoned angler or a beginner, a DIY kayak rod holder is a great way to enhance your kayak fishing experience.
Materials Needed for your DIY kayak rod holders
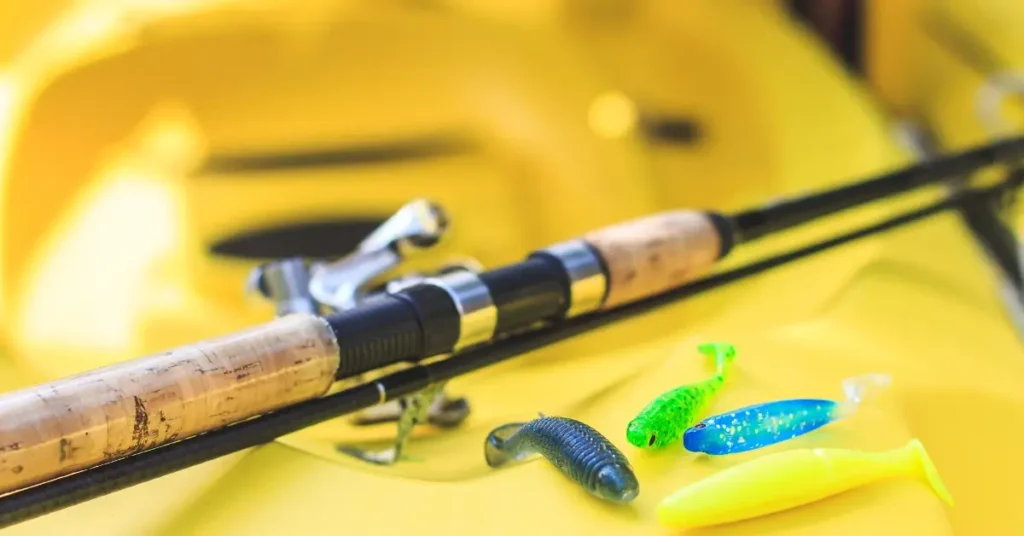
If you’re looking to build your own DIY kayak rod holder, you’ll need a few materials to get started. Here are some of the materials you’ll need:
| Materials | Description |
|---|---|
| PVC Pipes | Used for the main structure of the rod holder |
| PVC Elbows | Used to connect the PVC pipes at an angle |
| PVC Caps | Used to cap off the ends of the PVC pipes |
| Screws | Used to attach the rod holder to your kayak |
| Nuts and Bolts | Used to secure the screws in place |
In addition to these materials, you may also need some tools to help you with the construction process. Here are some tools you may need:
- Saw
- Drill
- Measuring tape
- Sandpaper
- PVC cement
It’s important to note that the specific materials you’ll need will depend on the design of your rod holder. Some designs may require additional materials, while others may require fewer materials.
When selecting your materials, it’s important to choose high-quality materials that will be durable and long-lasting. This will ensure that your rod holder can withstand the wear and tear of regular use.
Overall, building your own DIY kayak rod holder can be a fun and rewarding project. With the right materials and tools, you can create a custom rod holder that meets your specific needs and preferences.
Step-by-Step Guide
If you’re looking to improve your kayaking experience, building your own rod holder is a great place to start. In this section, we’ll provide a step-by-step guide to building your own DIY kayak rod holder. We’ll cover everything from preparing your kayak to attaching the finished product.
Preparing the Kayak
Before you start building your rod holder, you’ll need to prepare your kayak. Here are the steps you should follow:
- Determine the location of the rod holder. The ideal location will depend on your personal preferences and the type of fishing you plan to do. Consider factors like ease of access and rod angle when selecting a location.
- Clean the area where the rod holder will be attached. Use a mild detergent and water to remove any dirt or debris.
- Measure and mark the location of the rod holder. Use a tape measure and a marker to make accurate measurements.
Building the Rod Holder
Once your kayak is prepared, it’s time to start building the rod holder. Here are the steps you should follow:
- Gather your materials. You’ll need PVC pipe, PVC elbows, PVC glue, screws, and a drill.
- Cut the PVC pipe to the desired length. The length will depend on the size of your kayak and the number of rods you plan to store.
- Assemble the PVC pipe and elbows. Use PVC glue to secure the pieces together.
- Drill holes for the screws. The screws will be used to attach the rod holder to the kayak.
- Attach the rod holder to the kayak. Use screws to secure the rod holder in place.
Attaching the Rod Holder
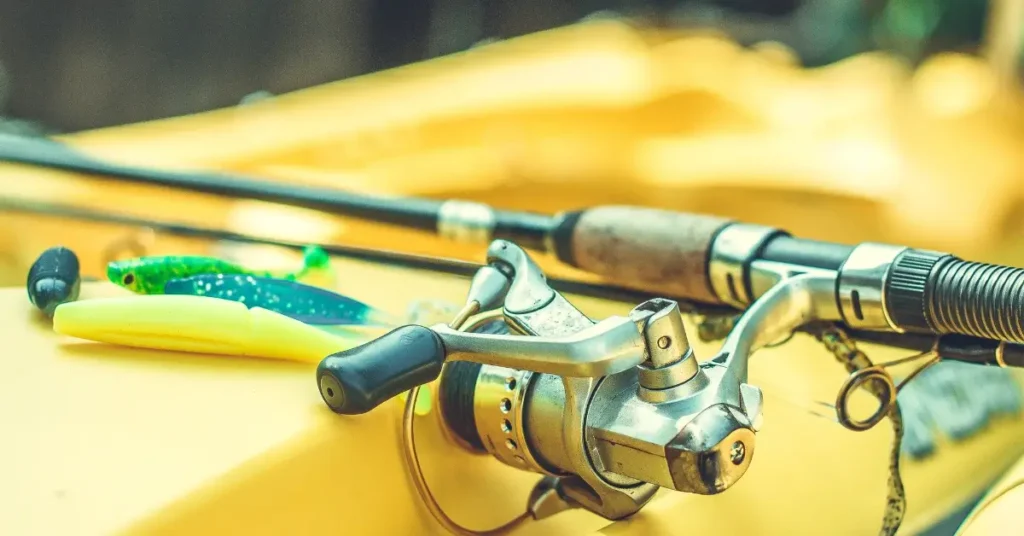
With your rod holder built, it’s time to attach it to your kayak. Here are the steps you should follow:
- Place the rod holder in the desired location. Make sure it’s level and secure.
- Drill holes for the screws. The holes should be slightly smaller than the screws.
- Attach the rod holder to the kayak. Use screws to secure the rod holder in place.
- Test the rod holder. Make sure it’s secure and can hold your rods.
That’s it! With these simple steps, you can build your own DIY kayak rod holder. Not only will it improve your kayaking experience, but it’s also a fun and rewarding project.
Tips and Tricks
If you’re planning to build your own DIY kayak rod holder, there are a few tips and tricks that can help you get the most out of your project. Here are some things to keep in mind:
Use the Right Materials
The materials you use for your DIY kayak rod holder can make a big difference in its durability and effectiveness. PVC pipe is a popular choice for rod holders because it’s lightweight, inexpensive, and easy to work with. However, you’ll want to make sure you choose the right diameter of PVC pipe to fit your rod securely. Additionally, consider using marine-grade stainless steel hardware to ensure your rod holder can withstand exposure to saltwater.
Consider Placement
Before you start building your rod holder, think about where you want to position it on your kayak. You’ll want to make sure it’s easily accessible while you’re paddling, but not in the way when you’re casting. Consider whether you want a horizontal or vertical rod holder, and whether you want it mounted on the side or the back of your kayak.
Customize to Your Needs
One of the benefits of building your own rod holder is that you can customize it to fit your specific needs. For example, you might want to add additional features like a cup holder or a place to store your tackle box. You could also experiment with different angles and heights to find the most comfortable and convenient setup for you.
Use a Template
If you’re not confident in your ability to build a rod holder from scratch, consider using a pre-made template or kit. This can help ensure that your rod holder is properly sized and shaped to fit your kayak and your rod. You can find templates and kits online or at your local outdoor gear store.
Test Before You Go
Before you hit the water with your new DIY kayak rod holder, make sure to test it out on dry land. This can help you identify any issues or adjustments you need to make before you’re out on the water. You don’t want to risk losing your rod or damaging your kayak because of a faulty rod holder.
| Tip | Description |
|---|---|
| Use the Right Materials | PVC pipe is a popular choice for rod holders because it’s lightweight, inexpensive, and easy to work with. |
| Consider Placement | Think about where you want to position your rod holder on your kayak to ensure it’s easily accessible while you’re paddling, but not in the way when you’re casting. |
| Customize to Your Needs | Experiment with different angles and heights to find the most comfortable and convenient setup for you. |
| Use a Template | Consider using a pre-made template or kit to ensure your rod holder is properly sized and shaped to fit your kayak and your rod. |
| Test Before You Go | Make sure to test your rod holder on dry land before you hit the water to identify any issues or adjustments you need to make. |
Overall, building your own DIY kayak rod holder can be a fun and rewarding project that can enhance your fishing experience. By following these tips and tricks, you can create a rod holder that’s customized to your needs and built to last.
Conclusion

In conclusion, building your own kayak rod holder is a great way to customize your fishing experience and make it more enjoyable. With a DIY kayak rod holder, you can have your fishing gear at your fingertips and focus on catching fish without worrying about where to store your rods.
Throughout this article, we have discussed different DIY kayak rod holder ideas, including using PVC pipes, bungee cords, and wooden boards. We have also highlighted the benefits of building your own kayak rod holder, such as saving money and having a customized solution that fits your exact needs.
Remember, when building your own kayak rod holder, safety should always be a top priority. Make sure to use sturdy materials that can support the weight of your fishing gear and follow the step-by-step guide carefully.
FAQ
Where is the best place to put a rod holder on a kayak?
A good location to install a rod holder on a kayak is behind the bulkhead, a few inches above the waterline. This ensures that it’s located in a good spot without interfering with casting or paddling.
How do I choose a rod length?
The length of a fishing rod usually ranges from 6-12 feet. Consider the type of fishing you plan to do, the species you are after, and your fishing environment. Beginner anglers usually choose a rod that is around 7 feet long.
What length rod to use on a kayak?
The ideal length of a fishing rod for kayak fishing depends on your fishing style. If you stand and fish, you can use your typical 7-7.5 feet rod, but if you sit and fish, it might be better to get a 6-7 feet rod.
If you liked this blog article about the topic: DIY Kayak Rod Holder, don’t forget to leave us a comment down below to tell us about your experience.
If you are looking for other projects from the area of sports & fitness or outdoor, feel free to check out our tutorial for a DIY Dip Bar oder a DIY Truck Bed Tent.


[…] you are looking for other projects from the area outdoor, feel free to check out our tutorial for a DIY Kayak Rod […]