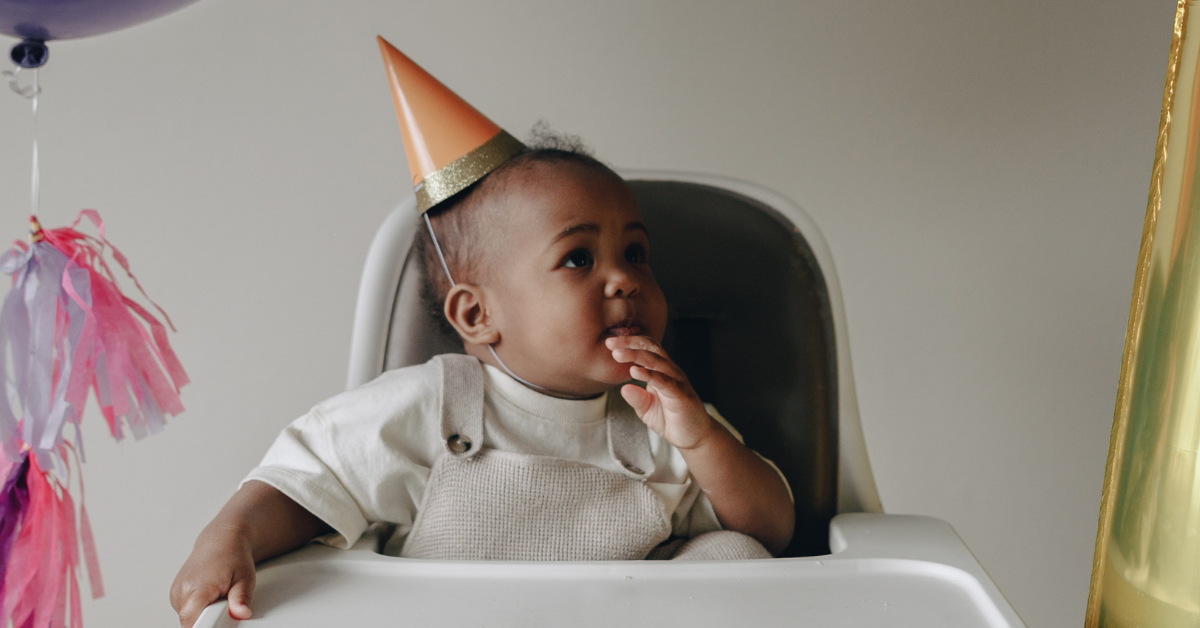
Are you planning your baby’s first birthday party and looking for a fun and creative way to decorate their high chair? A DIY high chair banner may be just what you need! Not only is it a cute addition to your party decor, but it’s also a great way to personalize your little one’s special day.
Making your own high chair banner is easier than you might think. With just a few simple materials and some creativity, you can create a banner that perfectly matches your party theme and adds a special touch to your baby’s high chair. Plus, it’s a great way to save money and avoid spending a fortune on pre-made banners.
So grab your supplies and let’s get started on creating a one-of-a-kind DIY high chair banner that will make your little one’s day extra special!
Materials Needed for DIY High Chair Banner
Are you planning to create a DIY high chair banner for your little one’s first birthday? It’s a great way to add a personalized touch to the celebration. But before you start, you need to gather some materials. Here’s a list of things you’ll need:
1. Fabric or Paper
The first thing you need is the material for your banner. You can use fabric or paper, depending on your preference. If you’re using fabric, choose a color or pattern that matches your theme. For paper banners, cardstock or construction paper works well.
2. Scissors
You’ll need a good pair of scissors to cut your fabric or paper into the desired shape and size. Make sure they’re sharp, so you can cut through the material easily.
3. Twine or Ribbon
To hang your banner, you’ll need twine or ribbon. Choose a color that complements your fabric or paper. Twine is great for a rustic or vintage look, while ribbon adds a touch of elegance.
4. Glue or Tape
To attach your fabric or paper to the twine or ribbon, you’ll need glue or tape. A glue gun works well for fabric banners, while double-sided tape is perfect for paper banners.
5. Embellishments (optional)
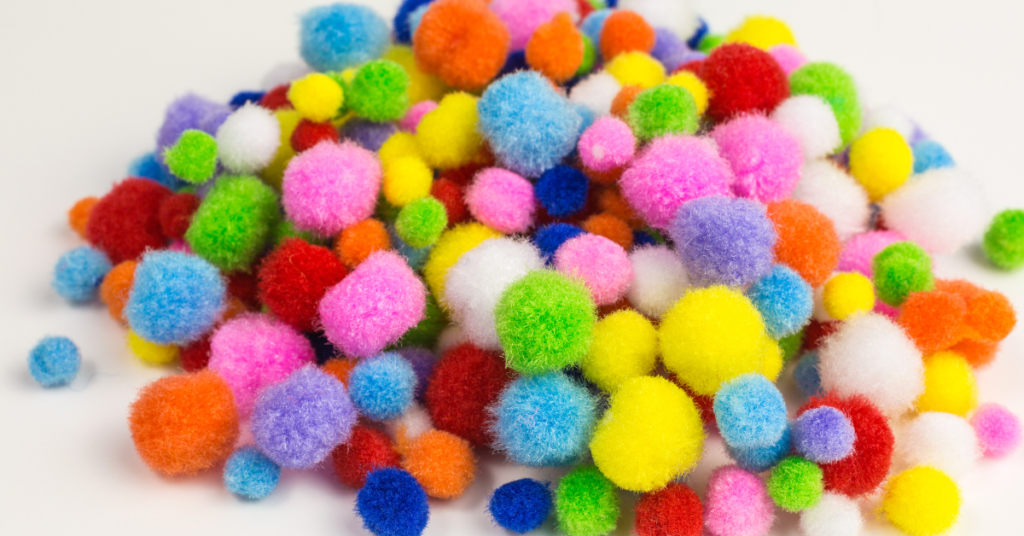
If you want to add some extra flair to your banner, consider adding embellishments like pom poms, tassels, or glitter. These can be attached with glue or string.
Creating a DIY high chair banner is a fun and easy project that adds a special touch to your little one’s first birthday. With just a few materials, you can create a beautiful and personalized banner that will make your celebration even more memorable. So gather your supplies and get crafting!
Step-by-Step Guide to Making Your High Chair Banner
Are you planning a DIY high chair banner for your little one’s first birthday? Making your own banner is a great way to add a personal touch to the celebration. Here is a step-by-step guide to help you create a beautiful and unique banner that will make your baby’s first birthday even more special.
Step 1: Choose Your Materials
To create your high chair banner, you will need to choose your materials. There are many different options, depending on your preferences and the theme of the party. Some popular materials include fabric, burlap, and paper. You will also need scissors, a ruler, and some ribbon or string to hang the banner.
Step 2: Measure and Cut Your Materials
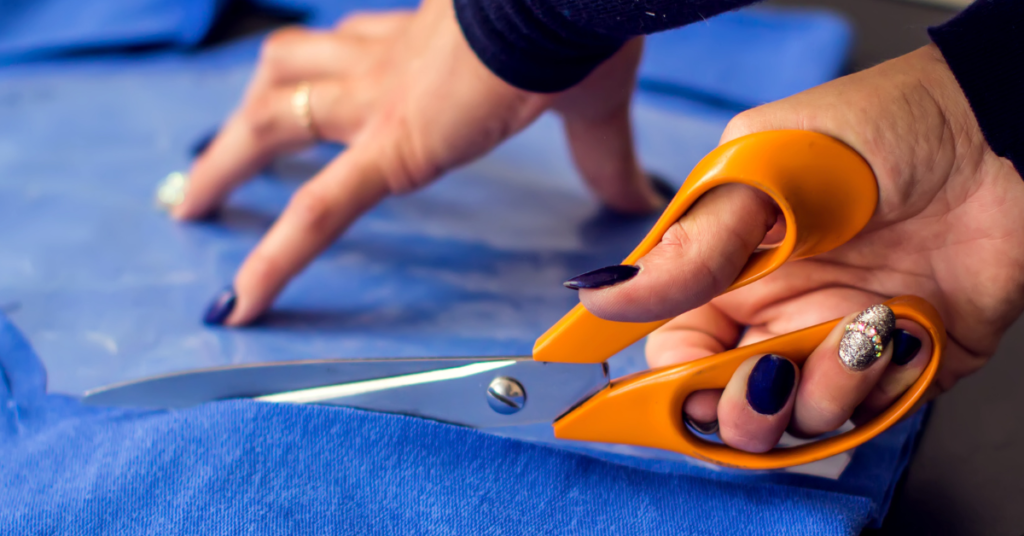
Once you have your materials, you will need to measure and cut them to the appropriate size. Measure the width of your high chair tray and add a few inches on each side to ensure that the banner will fit properly. Cut your materials into the desired shape and size, whether it be triangles, rectangles, or another shape.
Step 3: Decorate Your Banner
Now it’s time to get creative and decorate your banner. You can use paint, markers, stickers, or any other decorations that fit your theme. You can also use stencils to add letters or designs to your banner. Be sure to let your creativity shine and have fun with it!
Step 4: String Your Banner
Once your banner is decorated, it’s time to string it together. Use ribbon or string to attach each piece of your banner together. You can also add additional decorations, such as tassels or pom-poms, to the ends of the string for added flair.
Step 5: Hang Your Banner
Finally, it’s time to hang your banner. Tie the ends of the string to the high chair or use tape or hooks to attach it to a nearby wall. Be sure to take a step back and admire your handiwork. Your DIY high chair banner is now complete and ready to add a special touch to your baby’s first birthday celebration.
Creating a DIY high chair banner is a fun and easy way to add a personal touch to your little one’s first birthday party. With these simple steps, you can create a beautiful and unique banner that will make your celebration even more memorable.
Customizing Your High Chair Banner
A DIY high chair banner is a great way to add a personal touch to your baby’s first birthday celebration. One of the best things about making your own banner is that you can customize it to match the theme of your party and your baby’s personality. Here are some tips on how to customize your high chair banner to make it unique and special.
Choosing the Right Colors

When choosing the colors for your high chair banner, you want to consider the overall theme of your party. You can choose colors that match your baby’s outfit or the decorations you have chosen for the party. You can also choose colors that complement the color of your high chair or the room where the party is being held. Whatever colors you choose, make sure they are bright and cheerful to create a festive atmosphere.
Adding Personal Touches
To make your high chair banner even more personal, you can add some special touches that reflect your baby’s personality. You can include their name or initials on the banner, or add some cute and playful decorations like pom-poms or tassels. You can also add some photos of your baby or some of their favorite toys or characters. The possibilities are endless, so let your creativity run wild!
Conclusion
Creating a DIY high chair banner for your baby’s first birthday is a fun and easy way to add a personal touch to the celebration. With just a few materials and some creativity, you can make a banner that perfectly matches your party theme.
Whether you choose to use fabric, ribbon, or paper, the possibilities are endless when it comes to designing your banner. You can add letters, shapes, or even photos to make it extra special. Don’t be afraid to experiment with different colors and patterns until you find the perfect combination.
One of the great things about making your own high chair banner is that it is a cost-effective alternative to buying one. Plus, it allows you to customize the banner to fit your specific needs and preferences. You can make it as long or short as you want, and you can even reuse it for future birthdays or other special occasions.
Overall, creating a DIY high chair banner is a fun and rewarding project that will add a personal touch to your baby’s first birthday celebration. With a little bit of creativity and some basic crafting skills, you can make a banner that is as unique and special as your little one. So, grab some supplies and get started on your own DIY high chair banner today!
FAQ
How big should a high chair banner be?
The size of a high chair banner depends on personal preference and the size of the high chair. However, most DIY high chair banners are around 25-26 inches long and 4 inches wide.
What size should banner pieces be?
The size of banner pieces depends on the overall size of the banner and personal preference. For example, a banner with 6′ x 3′ dimensions can have pieces that are 6″ x 3″. However, the size of banner pieces can vary based on the design and intended use.
How do you hang a banner with string?
To hang a banner with string, thread the string through the grommets or pole pockets of the banner. Tie the string to a secure anchor point such as a post or tree. For added stability, tie the string to multiple anchor points
If you liked this blog article about the topic: DIY high chair banner, don’t forget to leave us a comment down below to tell us about your experience.
If you are looking for a project to make your home cozy, feel free to check out our tutorial for a DIY Mirror Stand.

