Are you looking to add a dip bar to your home gym but don’t want to spend a fortune on a pre-made one? A DIY dip bar might be just what you need. Not only is it much more affordable, but you can also customize it to fit your specific needs and preferences.
Building a DIY dip bar might seem like a daunting task, but it’s actually quite simple. With a few basic tools and materials, you can create a sturdy and reliable dip bar that will help you take your workouts to the next level. In this article, we’ll explore some of the best DIY dip bar ideas and provide step-by-step instructions for building your own. So whether you’re a seasoned fitness enthusiast or just starting out, read on to learn how to create your very own DIY dip bar.
Tools and Materials Needed for your DIY dip bar
If you’re looking to build your own DIY dip bar, there are a few tools and materials you’ll need to get started. With the right supplies, you can create a sturdy and reliable dip station that will allow you to work out at home and save money on gym memberships.
Tools Needed
Here are the tools you’ll need to build your own DIY dip bar:
- PVC pipe cutter or hand saw
- Tape measure
- Marker or pencil
- Sandpaper
- Drill with a 7/8-inch spade bit
- Screwdriver
- Level
Materials Needed

In addition to the tools listed above, you’ll also need the following materials:
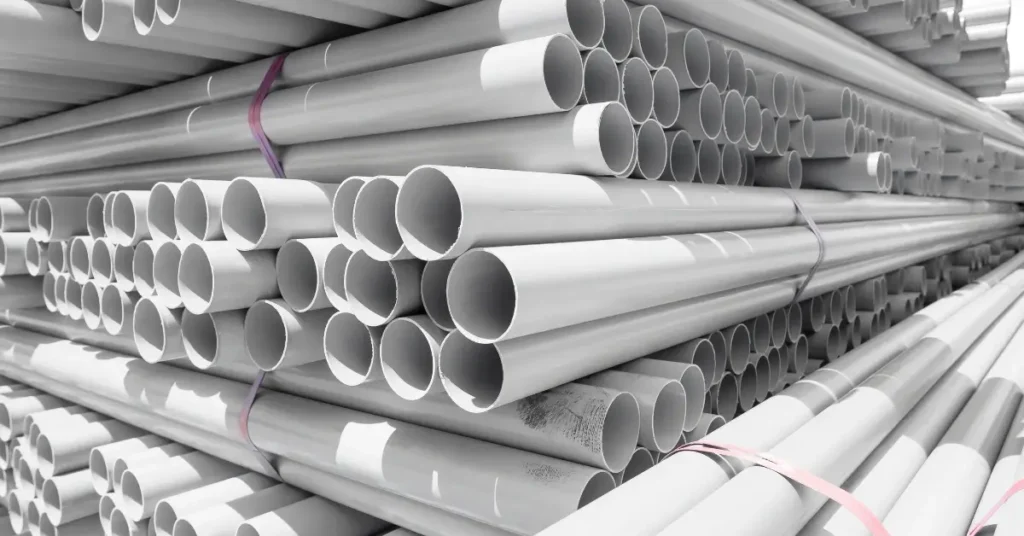
- PVC pipes (1.5 inches in diameter)
- PVC elbows
- PVC tees
- PVC end caps
- PVC cement
- Floor flanges
- Screws
- Wood boards (optional)
When selecting your materials, make sure to choose high-quality PVC pipes that are strong and durable. You’ll also want to select the appropriate size and length of pipes based on your desired dip bar height and width.
Building Your DIY Dip Bar

Once you have all of your tools and materials, you’re ready to start building your DIY dip bar. Follow the steps outlined in our guide to building dip bars to create a sturdy and reliable dip station that will allow you to work out at home.
Remember to take your time and follow all safety precautions when working with tools and materials. With a little patience and effort, you can create a high-quality DIY dip bar that will provide you with years of use and enjoyment.
Step 1: Measure and Cut the Pipes
The first step in building your DIY dip bar is to measure and cut your PVC pipes. The amount of PVC pipe you will need will vary based on how large you want to make your dip bar and the distance between your shoulders. You can find the latter by pulling a tape measure from one shoulder blade to the other. Once you have your measurements, use a hand saw to cut your PVC pipes to size.
Step 2: Assemble the Base
The next step is to assemble the base of your dip bar. To do this, you will need to connect your PVC pipes using 90-degree elbows and T-joints. You can use PVC glue to secure the joints in place. Once you have assembled the base, use floor flanges with screws to attach the dip bar to the floor.
Step 3: Add the Crossbars
After you have assembled the base of your dip bar, the next step is to add the crossbars. To do this, you will need to connect two PVC pipes together using a T-joint. Attach the T-joint to the base of your dip bar using PVC glue. Repeat this process for the other side of the dip bar.
Step 4: Attach the Handles
The final step in building your DIY dip bar is to attach the handles. To do this, you will need to use PVC caps and PVC tees. Attach the PVC caps to the ends of your crossbars. Then, attach the PVC tees to the caps. Finally, attach your handles to the PVC tees. You can use foam pipe insulation to cover the handles for added comfort.
Building your own DIY dip bar is a great way to add a new piece of equipment to your home gym without spending a lot of money. By following the steps outlined above, you can build your own dip bar in just a few hours. So what are you waiting for? Get started on your DIY dip station today!
Why Build Your Own DIY Dip Bar?
Here are a few reasons why building your own dip bar might be the right choice for you.
Cost-Effective

One of the most significant advantages of building your own dip bar is the cost savings. Purchasing a commercial dip bar can be quite expensive, especially if you’re looking for a high-quality one. By building your own, you can save money and still have a sturdy and functional piece of equipment.
Customizable
When you build your own dip bar, you have the freedom to customize it to your specific needs. You can adjust the height, width, and depth to fit your body type and workout preferences. Additionally, you can choose the materials you want to use, whether that’s PVC, steel pipe, or wood.
Easy to Build
Building your own dip bar might sound intimidating, but it’s actually a relatively simple DIY project. There are plenty of online resources and tutorials available that provide step-by-step instructions and supply lists. Plus, you don’t need a lot of tools or experience to complete the project.
Versatile
A DIY dip bar is a versatile piece of equipment that can be used for a variety of exercises, including tricep dips, knee raises, and leg raises. It’s a great addition to any home gym, whether you’re a beginner or an experienced athlete.
Overall, building your own DIY dip bar is a cost-effective, customizable, easy-to-build, and versatile option for adding a new piece of equipment to your home gym. So, why not give it a try?
Tips for Using Your DIY Dip Bar

Congratulations on building your very own DIY dip bar! Now that you have it set up, you’re probably eager to start using it to improve your upper body strength and tone your muscles. Here are some tips to help you get the most out of your DIY dip bar:
Warm Up First
Before you start using your DIY dip bar, it’s important to warm up your muscles to prevent injury. You can warm up by doing some light cardio, such as jumping jacks or jogging in place, for a few minutes. You can also do some dynamic stretches, such as arm circles or shoulder shrugs, to loosen up your joints.
Start Slowly
If you’re new to using a dip bar, it’s important to start slowly and gradually increase the intensity of your workouts. Start with just a few reps at a time and work your way up to more as you build strength and endurance. It’s better to do a few good reps with proper form than to do a lot of reps with poor form.
Use Proper Form
Speaking of form, it’s crucial to use proper form when using your DIY dip bar. Improper form can lead to injuries and prevent you from getting the full benefits of the exercise. Here are some tips for using proper form:
- Keep your elbows close to your body
- Keep your shoulders down and back
- Lower yourself until your arms are at a 90-degree angle
- Push yourself back up using your triceps
Mix It Up
Using your DIY dip bar for the same exercise every time can get boring and lead to a plateau in your progress. Mix it up by doing different exercises, such as dips, body rows, or knee raises. You can also vary the number of reps and sets you do to keep your muscles guessing and prevent boredom.
Take Rest Days
It’s important to give your muscles time to rest and recover after a workout. Aim to take at least one rest day per week to allow your muscles to recover and grow stronger. You can also alternate between upper body and lower body workouts to give different muscle groups a chance to rest.
Using a DIY dip bar can be a great way to improve your upper body strength and tone your muscles. Just remember to warm up, start slowly, use proper form, mix it up, and take rest days. With these tips, you’ll be well on your way to achieving your fitness goals!
Conclusion
Building a DIY dip bar is a great way to save money and improve your home gym setup. With a variety of materials and designs to choose from, you can create a dip bar that is tailored to your specific needs and preferences.
When building your dip bar, it’s important to consider factors such as stability, weight capacity, and adjustability. Using sturdy materials such as PVC pipes, metal pipes, or wood can help ensure that your dip bar is safe and secure. Adding adjustable features such as height or width can also make your dip bar more versatile and adaptable to different workouts.
In addition to being cost-effective and customizable, building a DIY dip bar can also be a fun and rewarding project. Whether you’re a seasoned DIY enthusiast or a beginner, there are plenty of resources available online to help guide you through the process.
Overall, a DIY dip bar can be a valuable addition to your home gym setup, providing a versatile and effective tool for upper body workouts. With the right materials, design, and construction, you can create a dip bar that is both functional and aesthetically pleasing. So why not give it a try and build your own DIY dip bar today?
FAQ
Can you use too much glue on PVC pipe?
Yes, using too much glue on PVC pipe can cause the joint to become weak and brittle over time. It is important to follow the manufacturer’s instructions and apply the recommended amount of glue to ensure a strong and secure joint.
How thick should dip bars be?
The thickness of dip bars should be at least 1.5 inches in diameter to provide a comfortable and secure grip for the user. Thicker bars can also be used for increased grip strength training. However, it is important to ensure the bars are made of a sturdy material to support the weight of the user.
What angle should dip bars be?
Dip bars should be at a parallel angle to each other to ensure proper form and prevent injury. The bars should also be stable and fixed to prevent wobbling or tipping during use.
If you liked this blog article about the topic: DIY Dip Bar, don’t forget to leave us a comment down below to tell us about your experience.


[…] If you are looking for other projects, for example from the area of sports & fitness, feel free to check out our tutorial for a DIY Dip Bar. […]
[…] from the area of sports & fitness or outdoor, feel free to check out our tutorial for a DIY Dip Bar oder a DIY Truck Bed […]
[…] If you are looking for other projects, from the area of sports & fitness, feel free to check out our tutorial for a DIY Dip Bar. […]
[…] from the area of sports & fitness or outdoor, feel free to check out our tutorial for a DIY Dip Bar oder a DIY Truck Bed […]