Are you tired of the same old boring factory bumpers on your truck? Do you want to add a personal touch to your vehicle while also improving its functionality? Look no further than DIY bumper kits! These kits allow you to customize your own bumper to fit your specific needs and style.
With DIY bumper kits, you have the freedom to choose the materials, design, and features of your bumper. Whether you want a sleek and simple look or a rugged and heavy-duty bumper with winch mounts and light cutouts, the possibilities are endless. Plus, building your own bumper can be a fun and rewarding project that allows you to learn new skills and save money. So why settle for a generic factory bumper when you can create your own custom bumper with a DIY kit? Get ready to take your truck to the next level with a personalized and practical bumper that you can proudly say you built yourself.
Materials Needed for your DIY Bumper
If you’re looking to build your own DIY bumper, you’ll need a few key materials to get started. Here are the most important ones:
Metal
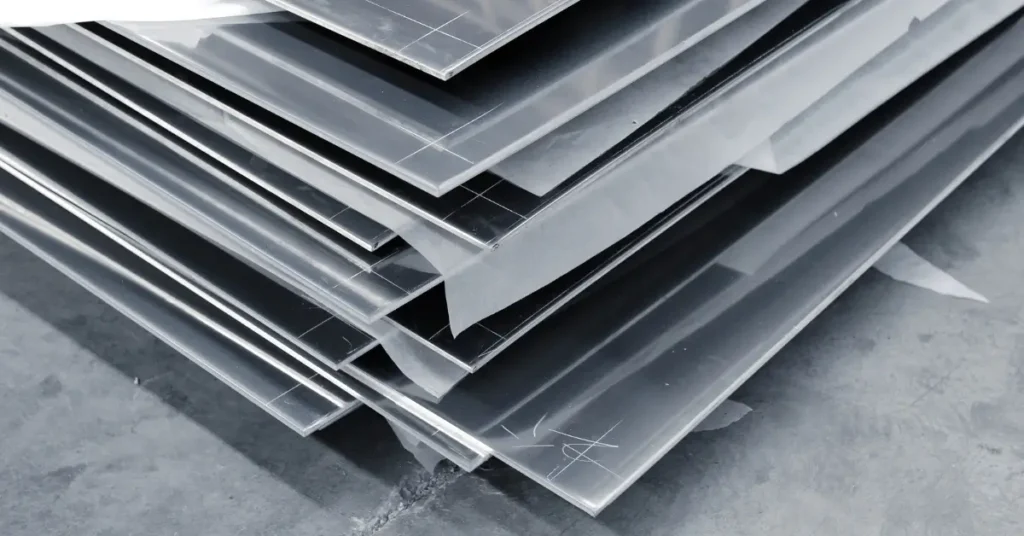
The first thing you’ll need is metal. Steel is the most common choice for bumpers because it’s strong and durable. You can purchase pre-cut steel plates or tubes, or you can cut your own using a metal saw. Make sure to choose a thickness that’s appropriate for your vehicle and the type of off-roading you plan to do.
Welding Equipment
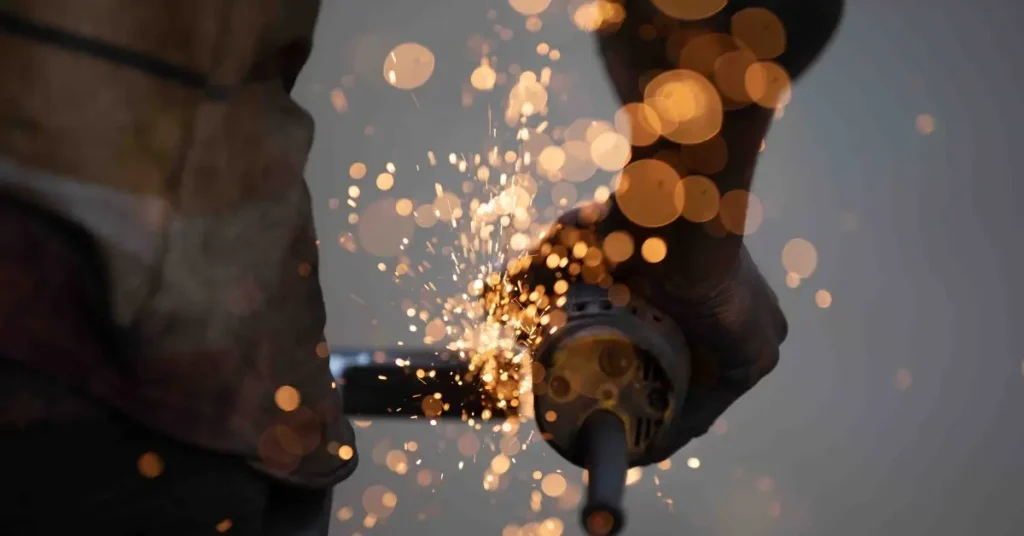
Welding is a critical part of building a DIY bumper. You’ll need a welder, welding gloves, a welding helmet, and welding jacket to protect yourself from sparks and heat. You’ll also need welding wire, which comes in different sizes and types depending on the thickness of the metal you’re working with. If you’re new to welding, consider taking a class or practicing on scrap metal before you start working on your bumper.
Cutting Equipment
In addition to a metal saw for cutting your steel, you’ll also need cutting equipment for shaping your bumper. A tube bender is essential if you’re using tubing for your bumper. You’ll also need various types of drills for making holes and shaping metal. Make sure to wear safety glasses and earplugs when using cutting equipment.
Overall, building a DIY bumper requires a significant investment of time and money. But if you’re up for the challenge, it can be a rewarding project that gives your vehicle a custom look and added protection.
Designing Your Bumper
If you’re looking to build your own DIY bumper, then designing it is the first step. This section will walk you through the process of designing your bumper, including choosing a style, measuring your vehicle, and sketching your design.
Choosing a Style
Before you start designing your bumper, you need to choose a style. There are many different styles of bumpers to choose from, including tube bumpers, plate bumpers, and prerunner bumpers. Each style has its own advantages and disadvantages, so it’s important to choose the one that best fits your needs.
Measuring Your Vehicle
Once you’ve chosen a style, you need to measure your vehicle. This will ensure that your bumper fits properly and looks good. You’ll need to measure the width and height of your vehicle, as well as the distance between the frame rails.
Sketching Your Design
With your style and measurements in mind, it’s time to sketch your design. This can be done on paper or using a computer program. Your design should include all the features you want in your bumper, such as light mounts, winch mounts, and D-ring mounts.
When sketching your design, it’s important to keep in mind the materials you’ll be using. For example, if you’re using plate steel, you’ll need to make sure your design is strong enough to support the weight of your vehicle.
In conclusion, designing your DIY bumper is an important step in the building process. By choosing a style, measuring your vehicle, and sketching your design, you’ll be well on your way to building a bumper that’s both functional and stylish.
Building Your Bumper
Are you ready to take on the challenge of building your own DIY bumper? It may seem like a daunting task, but with the right tools and some patience, you can create a custom bumper that fits your needs and style. In this section, we’ll go over the basics of building your bumper, including cutting your metal, welding your bumper, and finishing it off.
Cutting Your Metal
The first step in building your bumper is cutting your metal to the correct size and shape. You’ll need a metal cutting saw or plasma cutter to do this. Make sure to wear protective gear, such as gloves and goggles, when cutting your metal. Measure and mark your metal carefully before cutting to ensure accuracy.
Welding Your Bumper
Once you have your metal cut to size, it’s time to start welding your bumper together. You’ll need a welder and welding accessories, such as filler metal and a welding helmet. Welding can be tricky, so it’s important to practice your technique before starting on your bumper. Make sure to weld all joints securely, as your bumper will need to withstand the rigors of off-roading.
Finishing Your Bumper
After welding your bumper, it’s time to finish it off. This includes grinding down any rough edges, painting or powder coating your bumper, and adding any accessories, such as lights or winches. Make sure to use high-quality paint or powder coating to protect your bumper from rust and corrosion.
In conclusion, building your DIY bumper can be a rewarding experience that results in a custom bumper that fits your needs and style. Just remember to take your time, practice your welding technique, and use high-quality materials and accessories.
Installing Your Bumper
Ready to install your DIY bumper? Great! Here’s what you need to know to get the job done right.
Removing Your Old Bumper
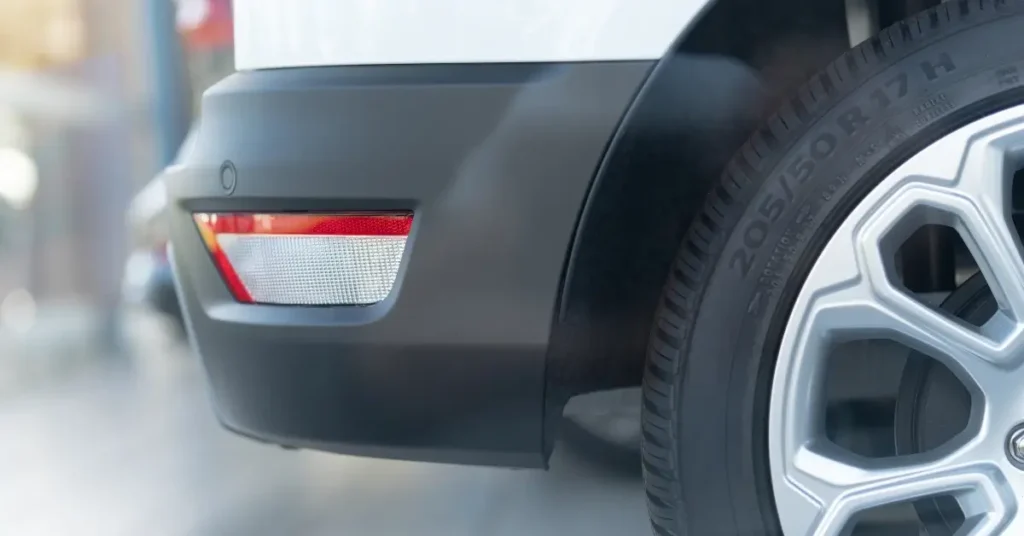
Before you can install your new bumper, you’ll need to remove the old one. Start by disconnecting any wiring or lighting connected to the bumper. Then, use a socket wrench to remove the bolts holding the bumper in place. If your bumper has plastic clips or fasteners, use a flathead screwdriver to gently pry them off.
Mounting Your New Bumper
Now that your old bumper is out of the way, it’s time to mount your new one. If your bumper came with a foam pad, attach it to the back of the bumper before mounting it to the vehicle. With the help of a buddy, position the bumper in place and use the bolts and clips to secure it in place. Make sure everything is tight and secure before moving on to the next step.
Wiring Your Bumper
If your new bumper has any lighting or other electrical components, you’ll need to wire them up. Follow the manufacturer’s instructions carefully to ensure everything is wired correctly. Make sure all connections are secure and everything is working properly before hitting the road.
Congratulations! You’ve successfully installed your DIY bumper. Take a step back and admire your handiwork. Not only does your new bumper look great, but you can also take pride in the fact that you did it yourself.
FAQ
What is the purpose of a bumper?
The purpose of a bumper is to absorb impact during a collision, ideally minimizing repair costs and protecting the more important parts of the car.
Why is a bumper called a bumper?
The term “bumper” originated from the 17th century when it was used to describe a “glass filled to the brim”. Over time, the definition of “fullness” expanded to include swellings in general, and eventually came to refer to the protective structure on the front and rear of a vehicle.
What causes bumper damage?
Bumper damage can be caused by a variety of factors, including collisions with other vehicles, objects, or pedestrians, as well as weather-related incidents such as hail or falling debris.
If you liked this blog article about the topic: DIY Bumper, don’t forget to leave us a comment down below to tell us about your experience.
If you are looking for other car projects, feel free to check out our tutorial for DIY Beadlocks.


[…] If you are looking for other projects from the section car & bike, feel free to check out our tutorial for DIY bumper. […]
[…] If you are looking for other car projects, feel free to check out our tutorial for DIY Bumper. […]