Are you looking for a way to customize your off-road vehicle and improve its performance? Look no further than DIY beadlocks. By adding beadlocks to your wheels, you can enhance your vehicle’s traction and stability while also giving it a unique look. And the best part? You can do it yourself with a little bit of know-how and the right tools.
DIY beadlocks are a popular choice for off-road enthusiasts who want to save money and have more control over the customization process. With the right materials and instructions, you can easily weld or bolt beadlocks onto your wheels and transform your vehicle’s performance. Plus, you can choose from a variety of designs and thicknesses to create a look that’s all your own.
So why wait? Get started on your own DIY beadlocks today and see the difference they can make for your vehicle.
How to Make DIY Beadlocks
If you’re looking for a way to upgrade your off-road vehicle without breaking the bank, DIY beadlocks might be just what you need. Not only are they affordable, but they’re also customizable and easy to install. With just a few materials and some basic tools, you can create your own beadlocks in no time.
Materials Needed
Before you get started, you’ll need to gather a few materials. Here’s what you’ll need:
| Steel wheels |
| Beadlock rings (either purchased or DIY) |
| Bolts and nuts (32-40 depending on wheel size) |
| Drill and drill bits |
| Welder |
| Grinder |
Step-by-Step Guide
- Begin by removing the tire from the wheel and cleaning the wheel thoroughly.
- If you’re using purchased beadlock rings, skip to step 3. Otherwise, if you’re making your own, cut a strip of steel to the length of the wheel’s circumference and weld it into a ring.
- Place the beadlock ring onto the wheel and mark where you’ll need to drill holes for the bolts.
- Drill the holes in the wheel and the beadlock ring.
- Attach the beadlock ring to the wheel using bolts and nuts.
- Tighten the bolts evenly to ensure a secure fit.
- Grind the edges of the beadlock ring and wheel to create a smooth surface.
- Reinstall the tire onto the wheel and inflate it to the appropriate pressure.
And there you have it – your very own DIY beadlocks! Not only are they a great way to upgrade your vehicle’s off-road capabilities, but they’re also a fun project to take on. So what are you waiting for? Get started on making your own DIY beadlocks today!
Tips for Installing DIY Beadlocks

Are you planning to install DIY beadlocks on your off-road vehicle? Here are some tips to help make the process smoother and ensure that your beadlocks are installed correctly.
1. Choose the Right Beadlock Kit
Before you start the installation process, make sure you have the right beadlock kit for your wheels. Beadlock kits come in different sizes and styles, so it’s important to choose one that fits your wheels and meets your needs.
2. Clean and Prepare the Wheels
Before you start welding or bolting the beadlock kit to your wheels, make sure they are clean and free of any debris or rust. Use a wire brush or sandpaper to remove any rust or dirt, and wipe the wheels clean with a cloth.
3. Follow the Instructions Carefully
Whether you’re using a weld-on or bolt-on kit, make sure you follow the instructions carefully. This will ensure that your beadlocks are installed correctly and safely. If you’re not comfortable with welding or have never done it before, consider hiring a professional to do the job for you.
4. Check the Torque
After you’ve installed the beadlock kit, make sure you check the torque on all the bolts. This will ensure that the beadlock is secure and won’t come loose while you’re driving on rough terrain.
5. Test Your Beadlocks
Before you hit the trails, make sure you test your beadlocks to ensure they’re working properly. You can do this by inflating your tires to the recommended pressure and checking for leaks or any other issues.
By following these tips, you can ensure that your DIY beadlocks are installed correctly and safely. Happy off-roading!
Safety Precautions
When it comes to DIY beadlocks, safety should be your number one priority. Although beadlocks can be a great addition to your off-road vehicle, they can also be dangerous if not installed and maintained properly. Here are some safety precautions to keep in mind before and during the installation process:
1. Wear Protective Gear
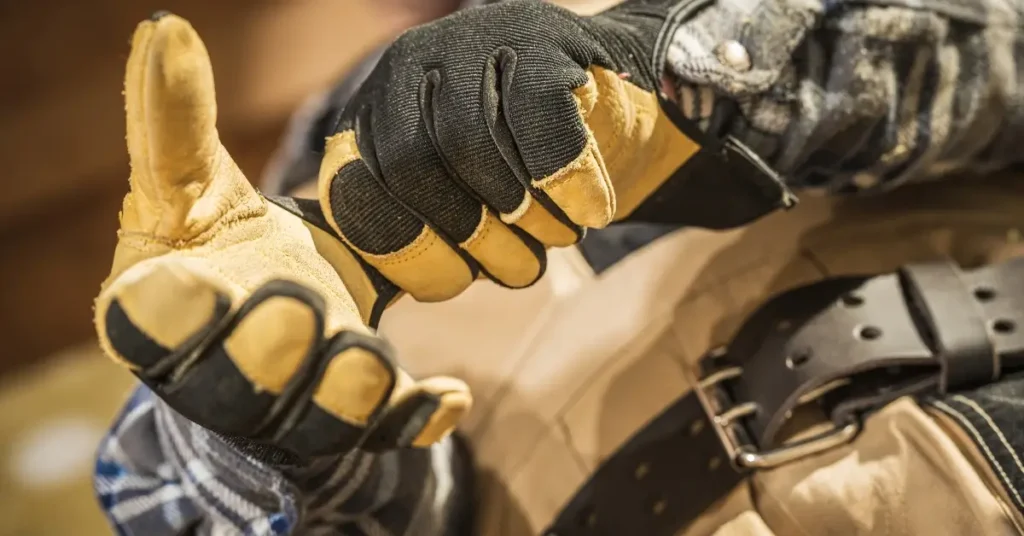
Before you start working on your DIY beadlocks, make sure you have all the necessary protective gear. This includes gloves, safety glasses, and ear protection. You’ll also want to wear a dust mask to protect your lungs from any debris that may be kicked up during the installation process.
2. Follow Instructions Carefully
It’s important to carefully read and follow the instructions that come with your DIY beadlock kit. Improper installation can result in damage to the tire, wheel, or both. If you’re unsure about any part of the installation process, don’t hesitate to reach out to the manufacturer for guidance.
3. Use Caution When Inflating Tires
When inflating your tires after installing beadlocks, use caution and follow the manufacturer’s recommendations. Overinflating your tires can cause the bead to pop off the rim, while underinflating can cause the tire to come off the rim entirely.
4. Check Your Beadlocks Often
After installing your DIY beadlocks, it’s important to check them regularly to ensure they’re secure and functioning properly. Check the bolts for tightness and look for any signs of damage or wear. Remember, beadlocks can be prone to driveability problems, so it’s important to keep a close eye on them.
By following these safety precautions, you can ensure that your DIY beadlock installation is a success and that you can enjoy your off-road adventures safely and confidently.
Maintenance and Repair
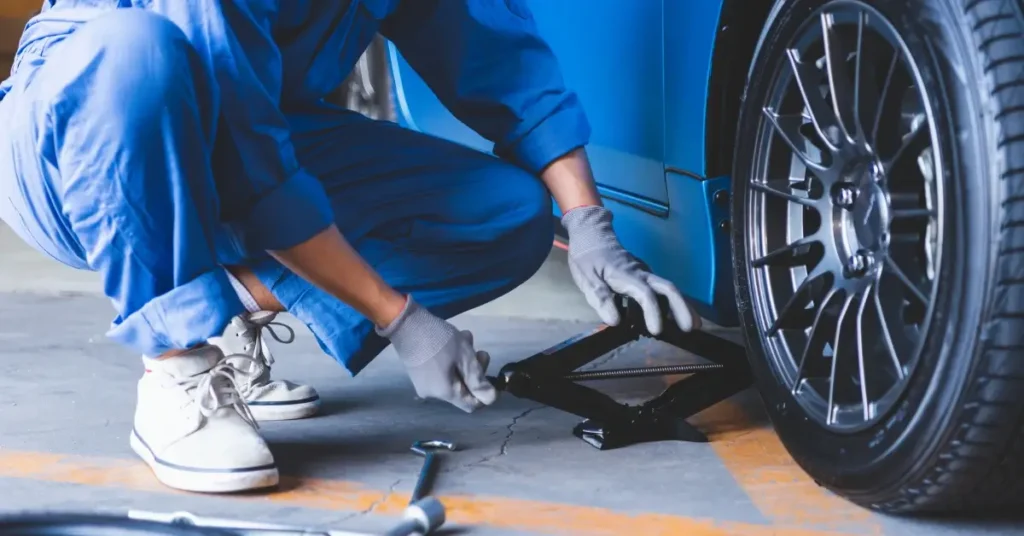
Congratulations! You’ve built your own DIY beadlocks and are ready to hit the trails. But before you do, it’s important to know how to properly maintain and repair them to ensure they last as long as possible.
Firstly, it’s important to regularly check the torque on your beadlock bolts. Over time, they can loosen, which can lead to the ring coming off and the tire losing pressure. Use a torque wrench to tighten the bolts to the manufacturer’s specifications.
In addition to checking the torque, it’s also important to inspect your beadlocks for any damage after each off-road adventure. Look for any cracks or bends in the ring or wheel, and ensure that all bolts are still in place. If you notice any damage, it’s important to repair or replace the affected parts before using your beadlocks again.
If you notice that your beadlocks are leaking air, there are a few things you can do to fix the issue. Firstly, check the valve stem to ensure it is properly seated and tightened. If that doesn’t fix the issue, remove the tire from the wheel and check the beadlock ring for damage or debris. Clean the ring and re-seat the tire, ensuring that it is properly aligned and seated on the beadlock.
Lastly, it’s important to regularly service your beadlocks to ensure they are functioning properly. This includes removing the tire from the wheel and cleaning the ring, bolts, and wheel thoroughly. Use a wire brush to remove any debris or rust, and apply a lubricant to the bolts to prevent them from seizing.
By following these maintenance and repair tips, your DIY beadlocks will last for many off-road adventures to come.
Conclusion
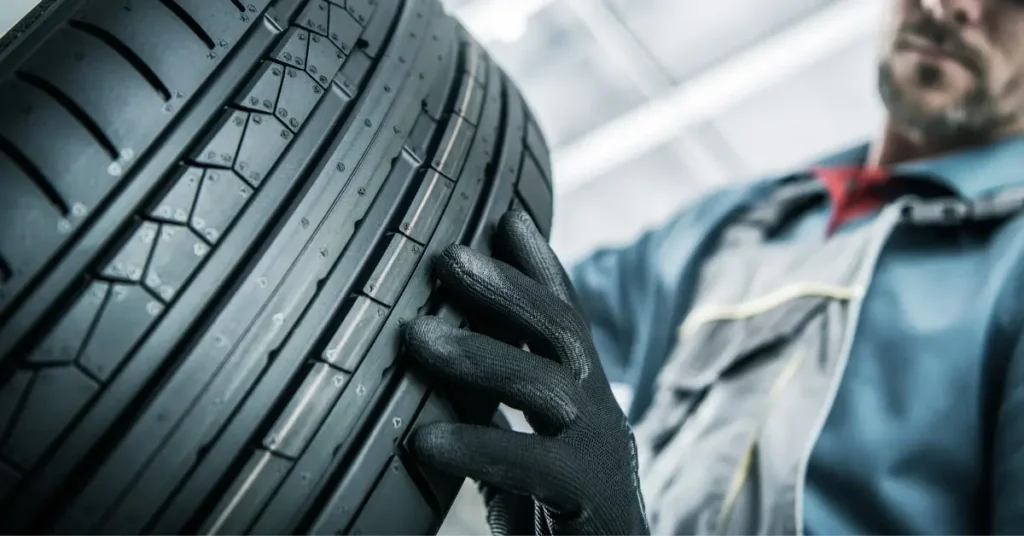
Remember, the key to creating a successful DIY beadlock is to take your time and follow the instructions carefully. Whether you’re using a kit or creating your own design, make sure to measure twice and cut once.
One of the biggest advantages of creating your own beadlocks is the ability to customize them to your liking. You can choose the size, material, and design that best suits your needs and style. Plus, creating your own beadlocks can save you money compared to purchasing pre-made ones.
However, it’s important to keep in mind that creating your own beadlocks requires some technical skills and tools. If you’re not comfortable with welding or cutting metal, it may be best to seek out professional help or purchase pre-made beadlocks.
Overall, DIY beadlocks are a great way to enhance the performance and appearance of your off-road vehicle. With some patience and effort, you can create a set of beadlocks that are both functional and stylish. Happy building!
FAQ
What is so special about beadlocks?
Beadlocks are special because they lock the tire’s bead to the wheel, allowing the user to drop air pressure in the tires without losing the seal between the tire and the wheel. This provides better traction, improved off-road performance, and increased safety.
At what point are beadlocks needed?
Beadlocks are necessary when you need to drop air pressure in your tires for better traction and off-road performance, especially in extreme conditions, such as rock crawling, sand dunes, and mud bogs. They also provide increased safety by preventing the tire from coming off the wheel.
Do beadlocks lock both sides?
Most beadlocks only lock one side of the tire, but some, like the Hutchinson Rock Monster Internal Double Beadlock, lock both sides. Double beadlocks provide extra security by preventing the tire from slipping on the rim, even at very low air pressures.
If you liked this blog article about the topic: DIY Beadlocks, don’t forget to leave us a comment down below to tell us about your experience.
If you are looking for other outdoor-projects, feel free to check out our tutorial for a DIY truck bed tent.



[…] If you are looking for other car projects, feel free to check out our tutorial for DIY Beadlocks. […]